
1.3 Exploring the Dashboard and CMS
In this article group
- 1.1 Login Process for Veya CMS
- 1.2 How to Recover Access to the CMS
- 1.4 Select Your Brand with the Tenant Filter
- 1.5 Overview of Pages and Layouts
- 1.6 Save a Draft, Preview and Publish
- 1.7 Preview Page Changes Across Devices
- 1.8 Restore a Previous Page Version
- 1.9 Upload and Organize Images in the Media Library
- 1.10 Image & Size Specs for Content Layouts
This article offers guidance on navigating the CMS interface. You will learn how to access essential sections, including media, products, pages, navigation, themes, SEO, and branding, enabling you to effectively customize and maintain your site.
Go to cms.builtonveya.com
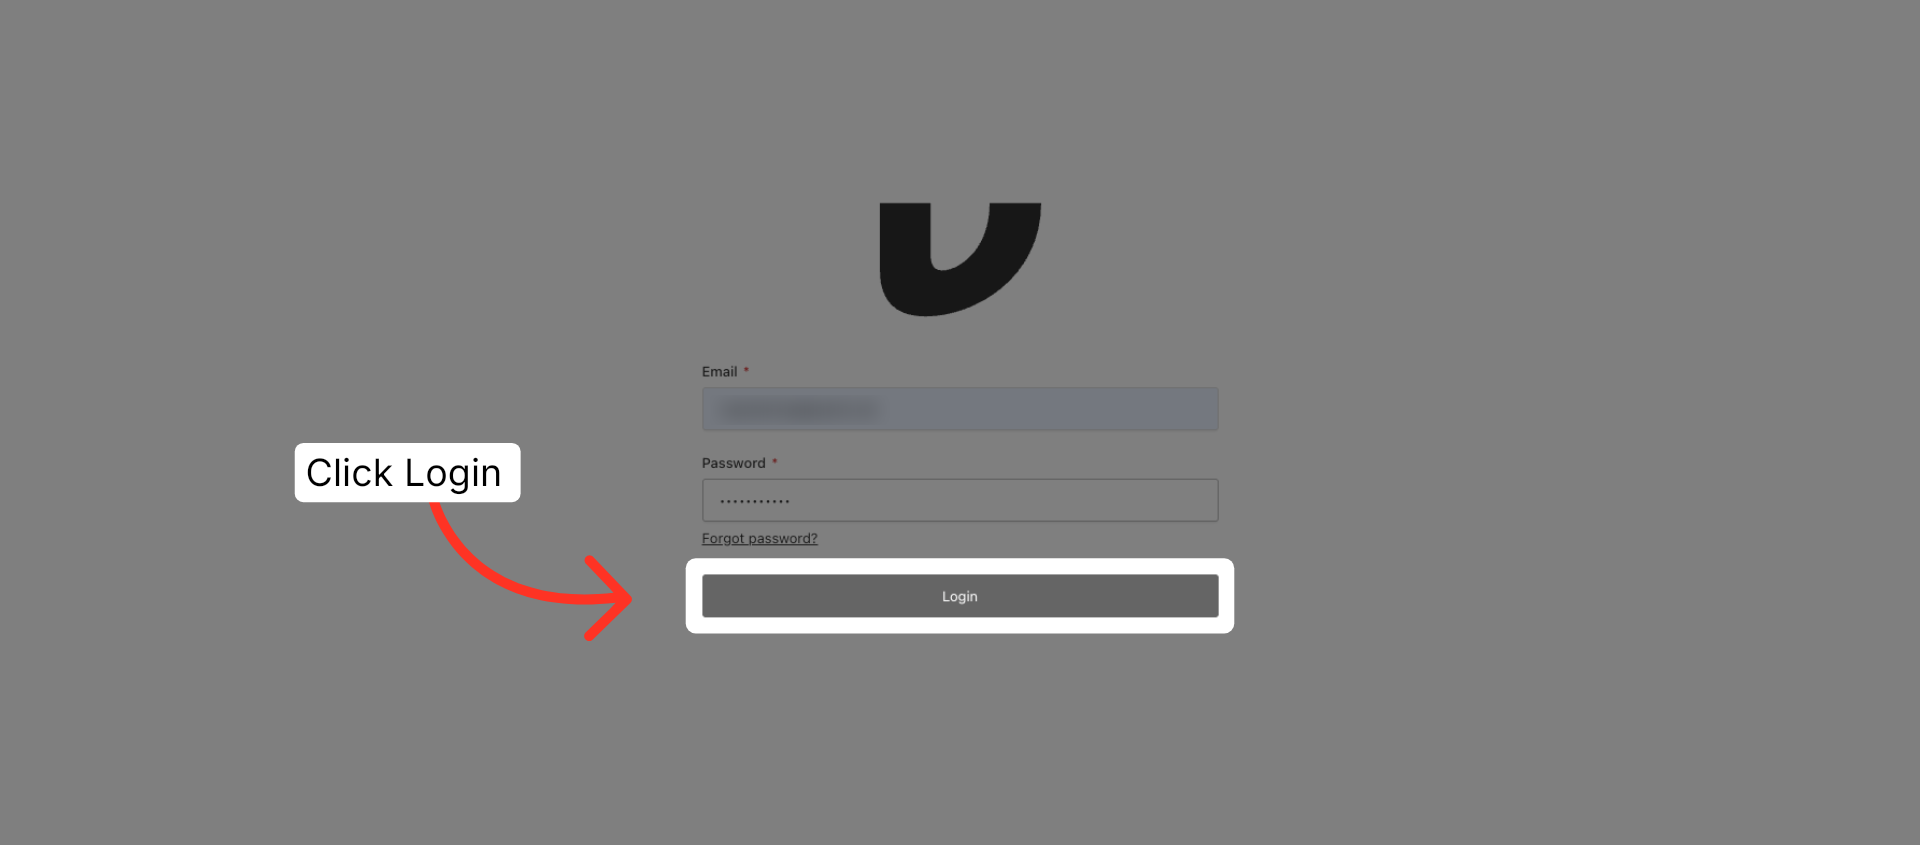
1. Submit Login Credentials
Click the Login button to access the Dashboard.
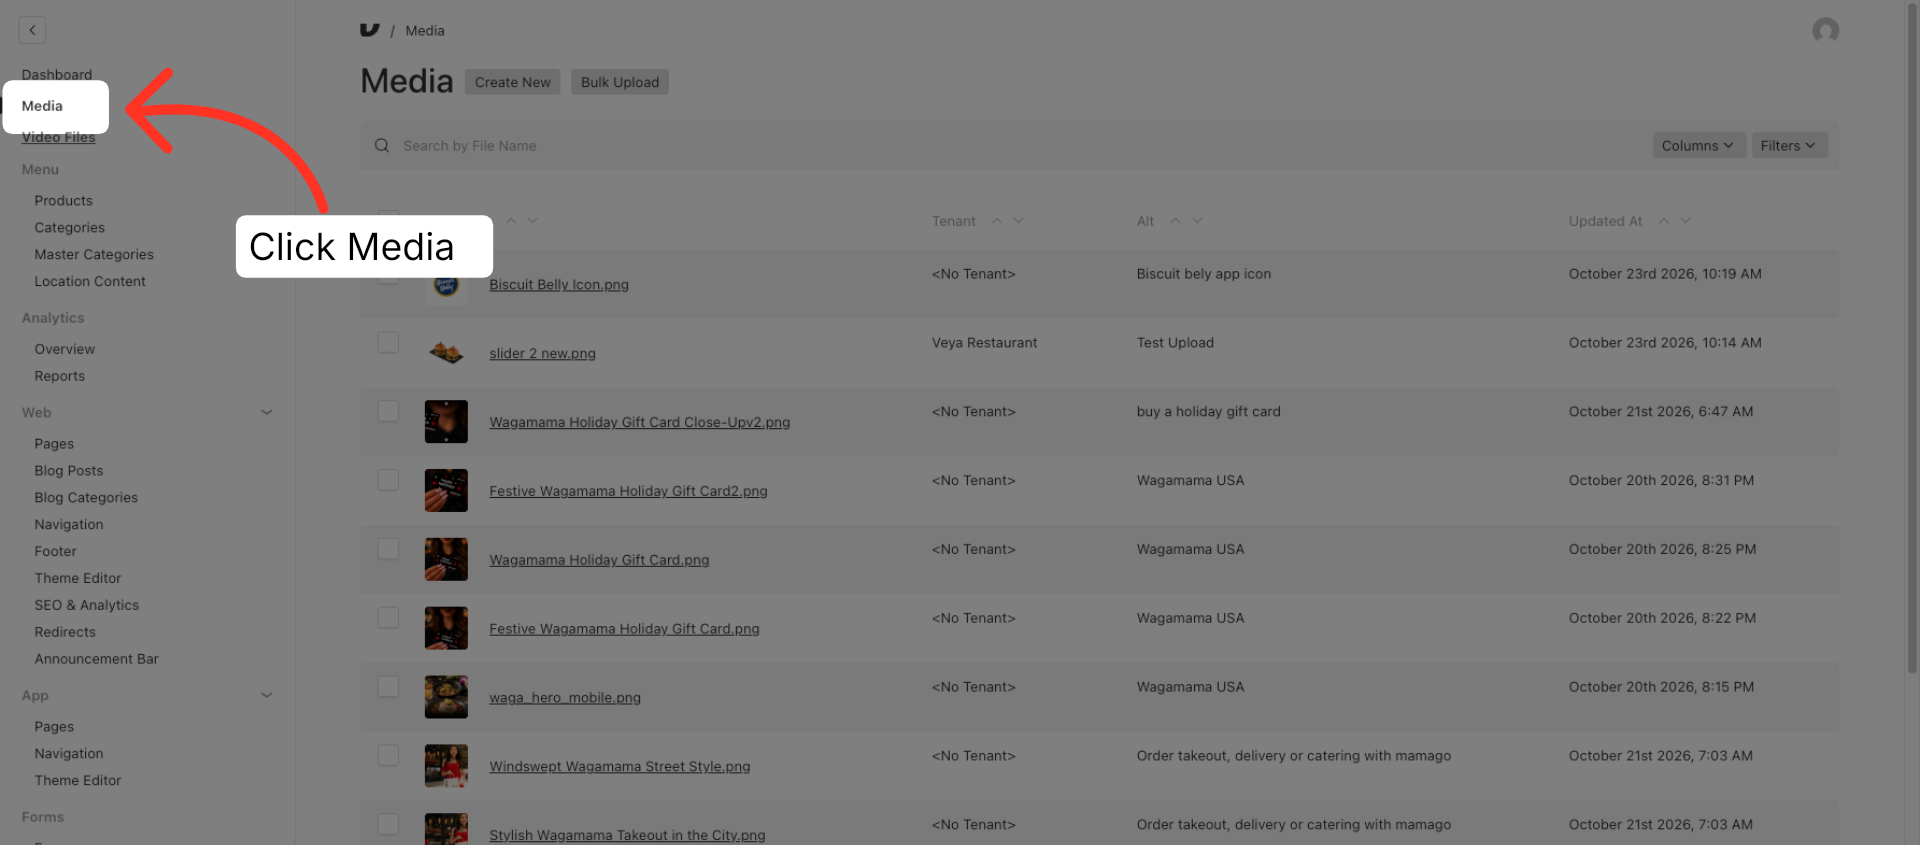
2. Media
Click on the Media category to access and upload any static content you wish to use on your website or app.
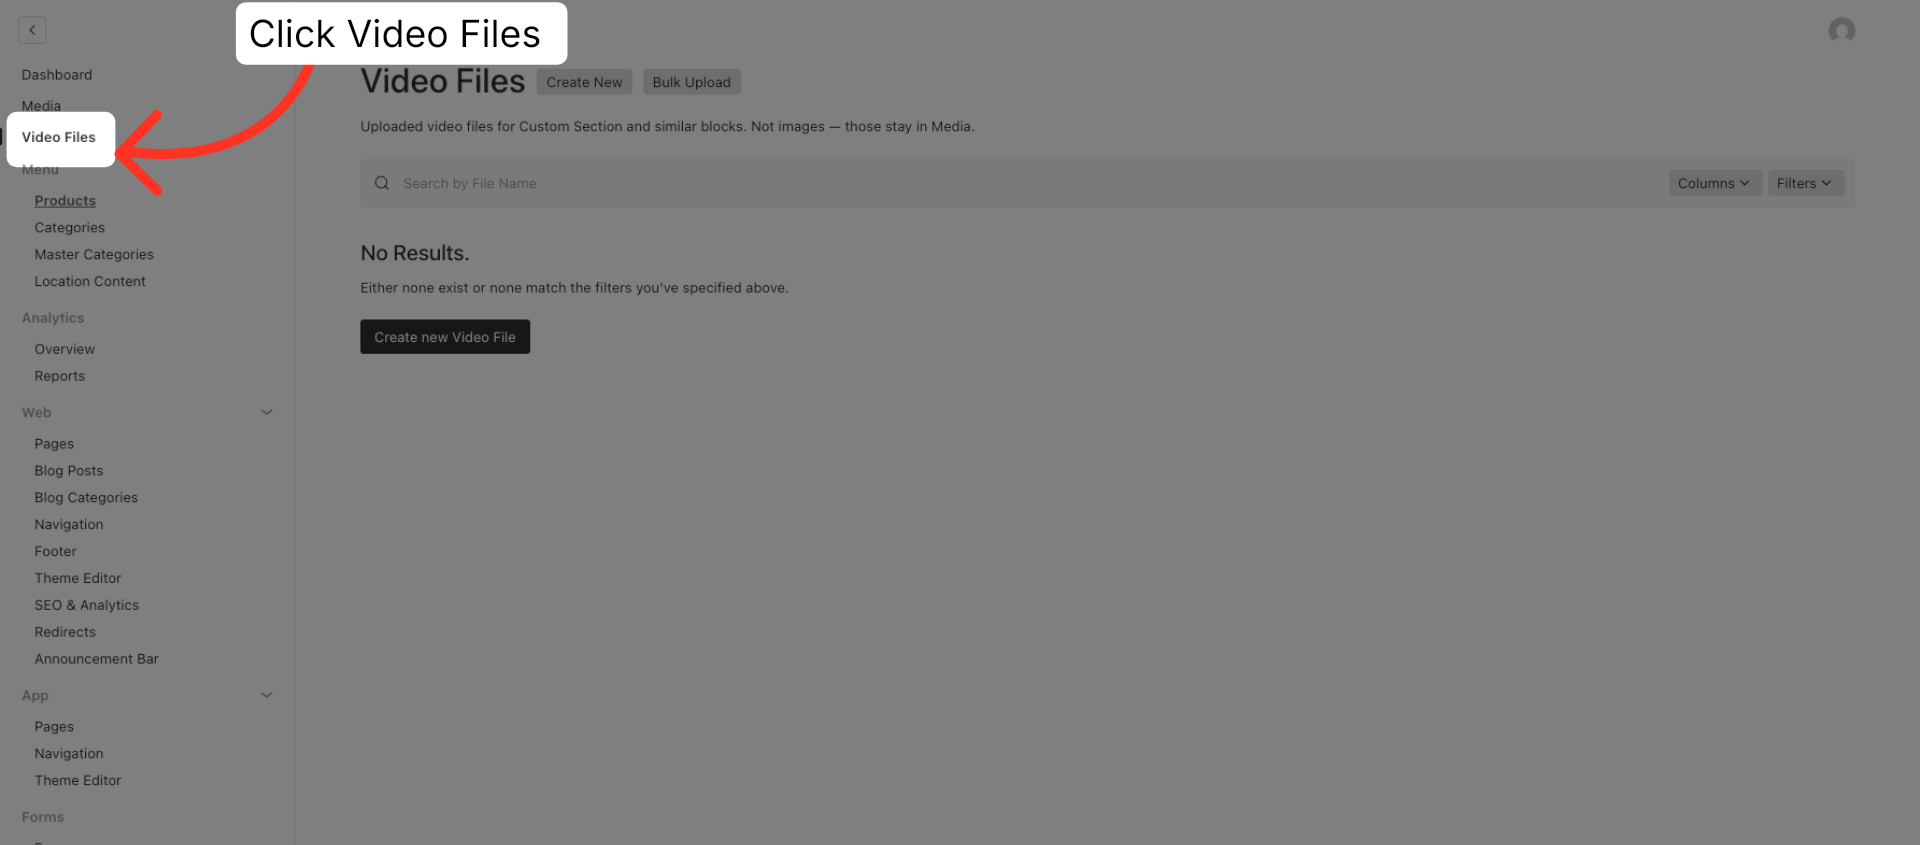
3. Video Files
Click on the Video Files section to view and upload video content. This content is accessible on both web and app platforms.
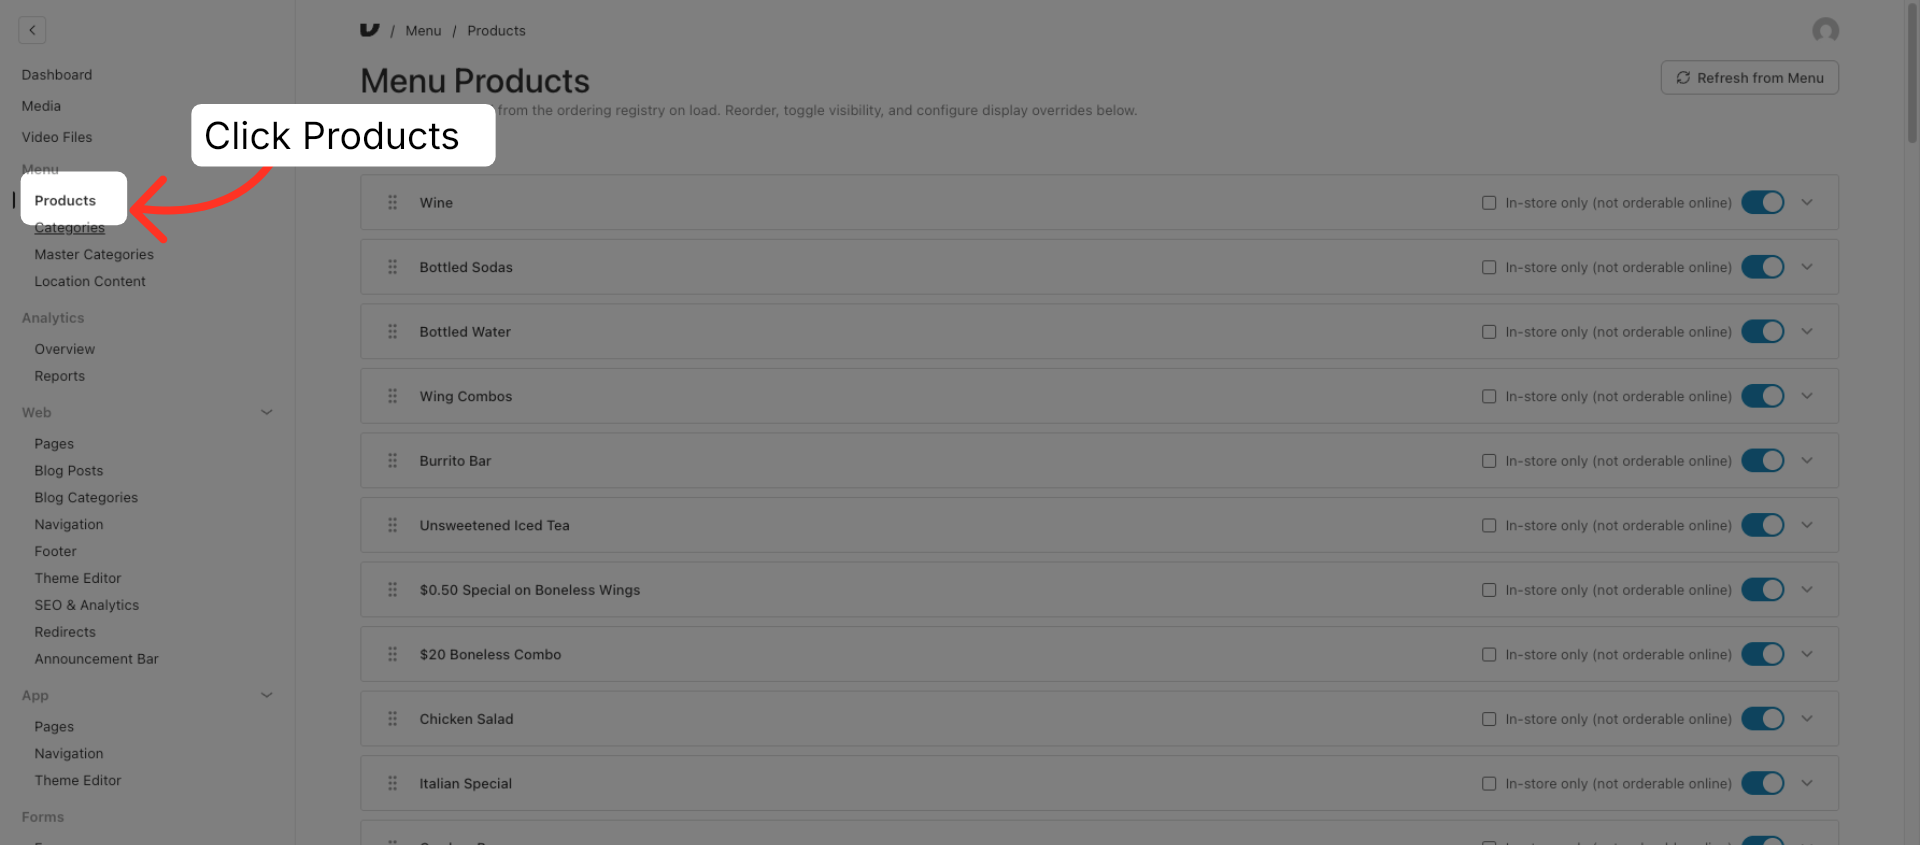
4. Menu - Products
Click the Products tab to manage product-related items sourced from third-party providers such as olo.
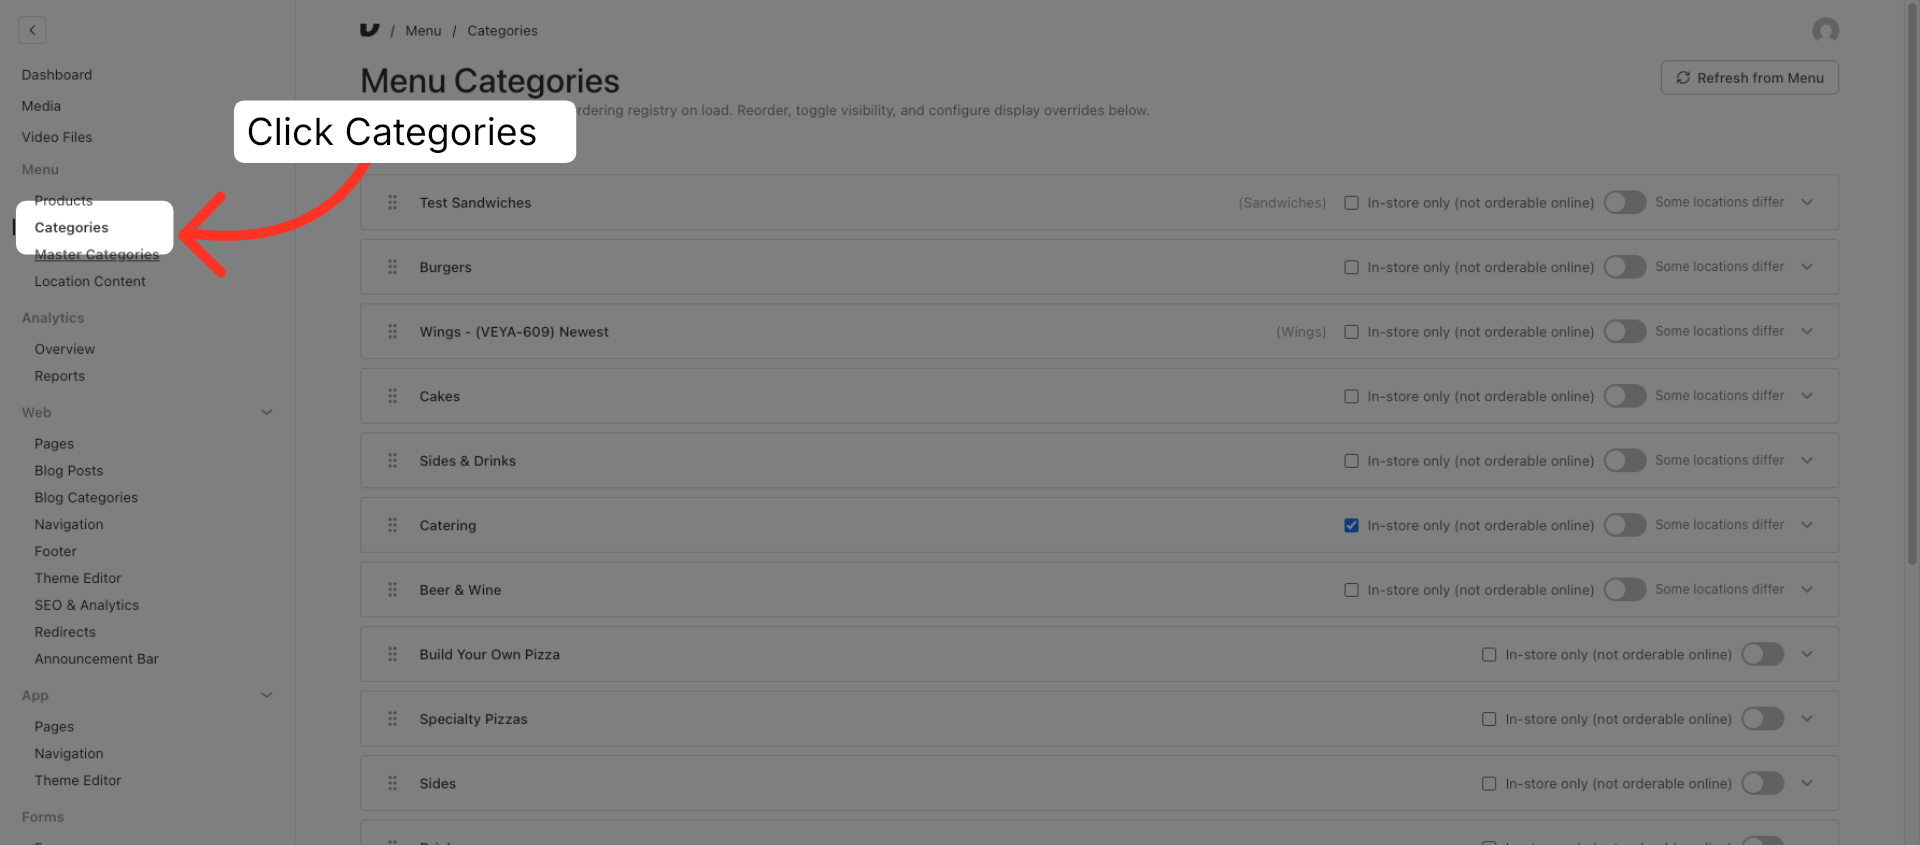
5. Menu - Categories
Click the Categories tab to view and manage the menu categories you have set up through third-party providers like olo.
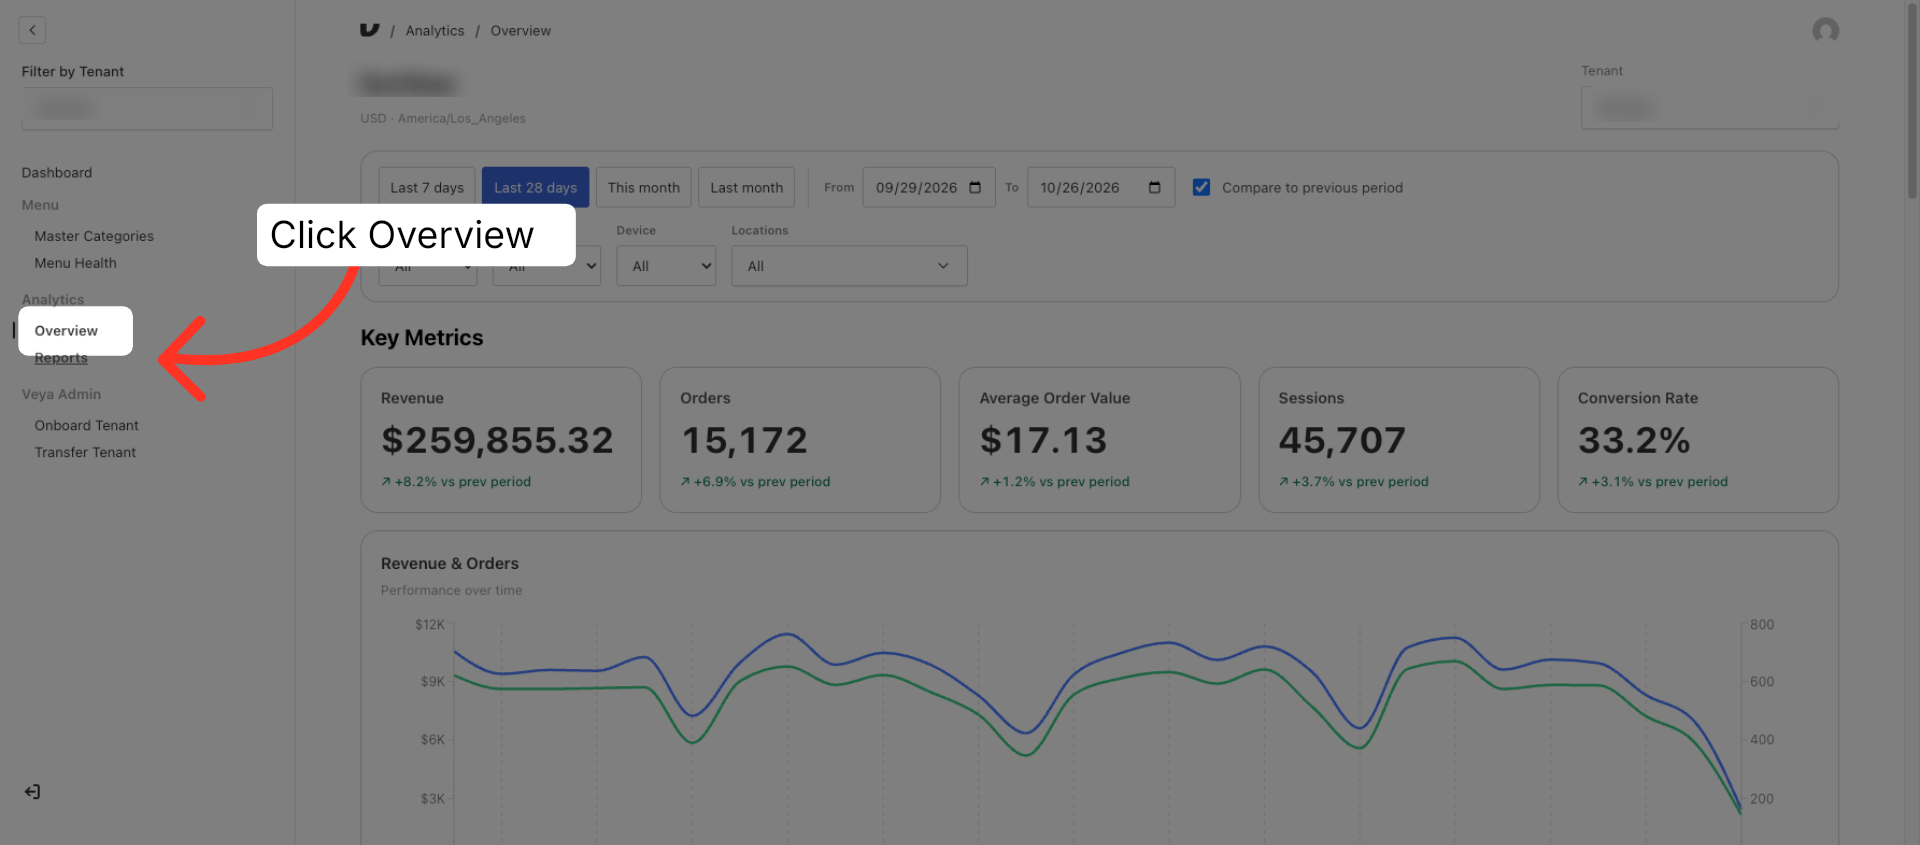
6. Analytics - Overview
Under the Analytics category, click on Overview to access specific data relevant to your brand. Whether you are operating an app or a website, this is where you will find performance metrics for your particular brand.
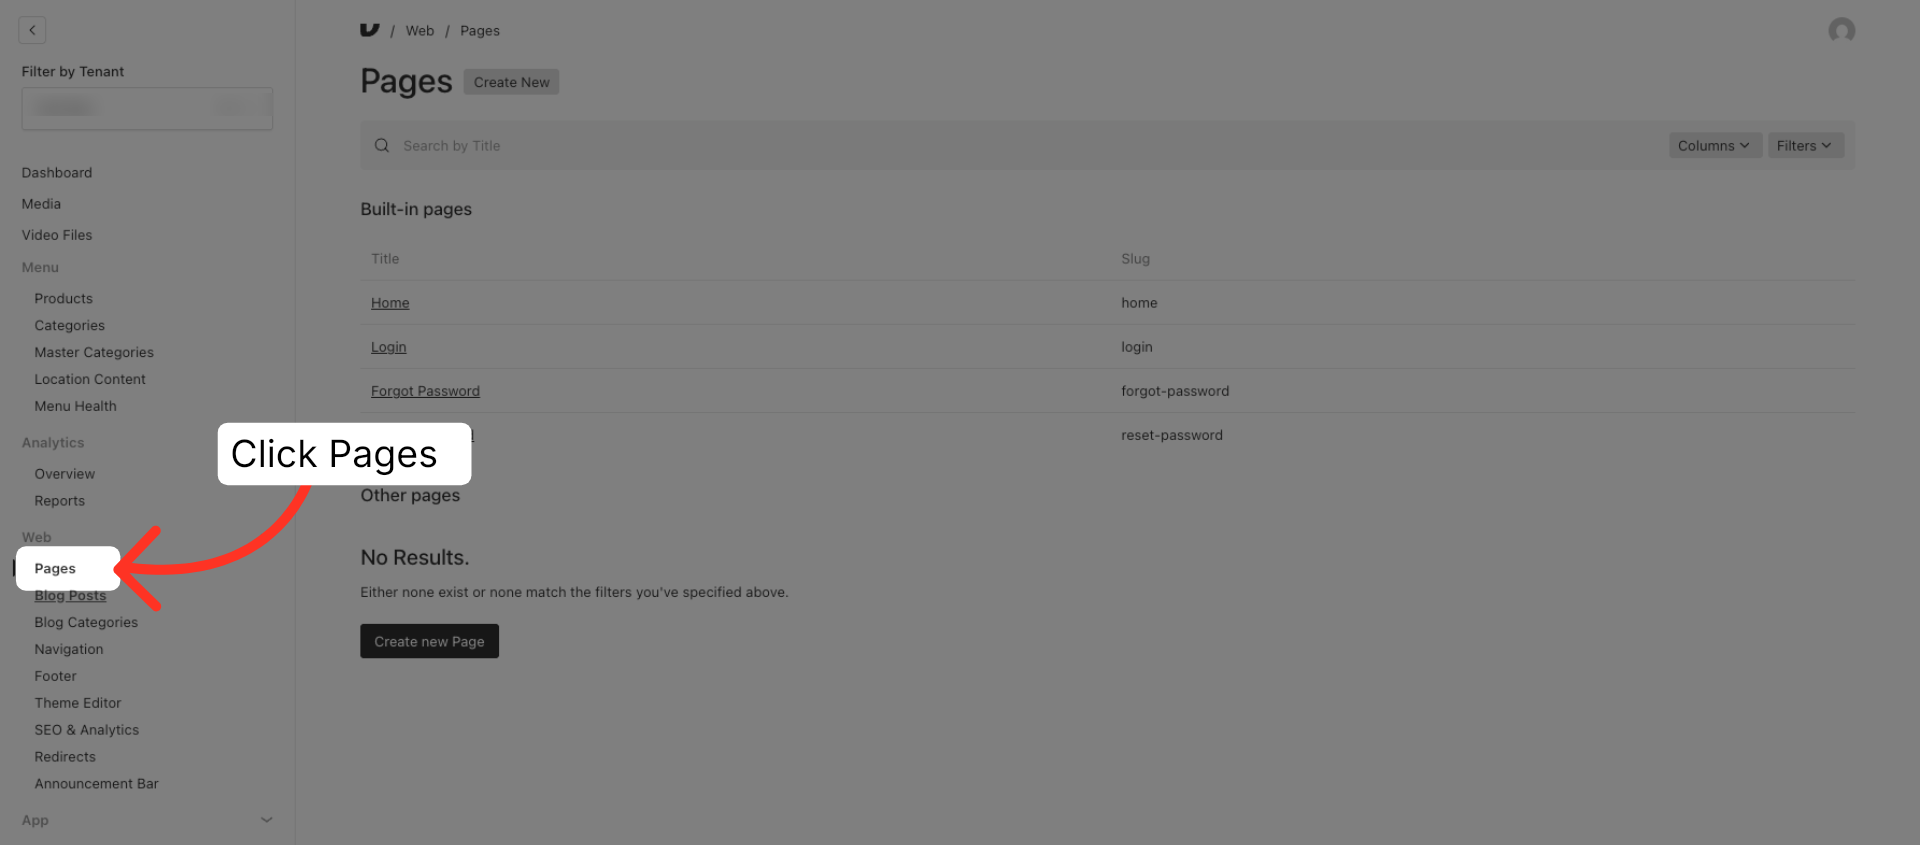
7. Web - Pages
The Pages section under Web allows you to create and modify specific content across all the pages on your website.
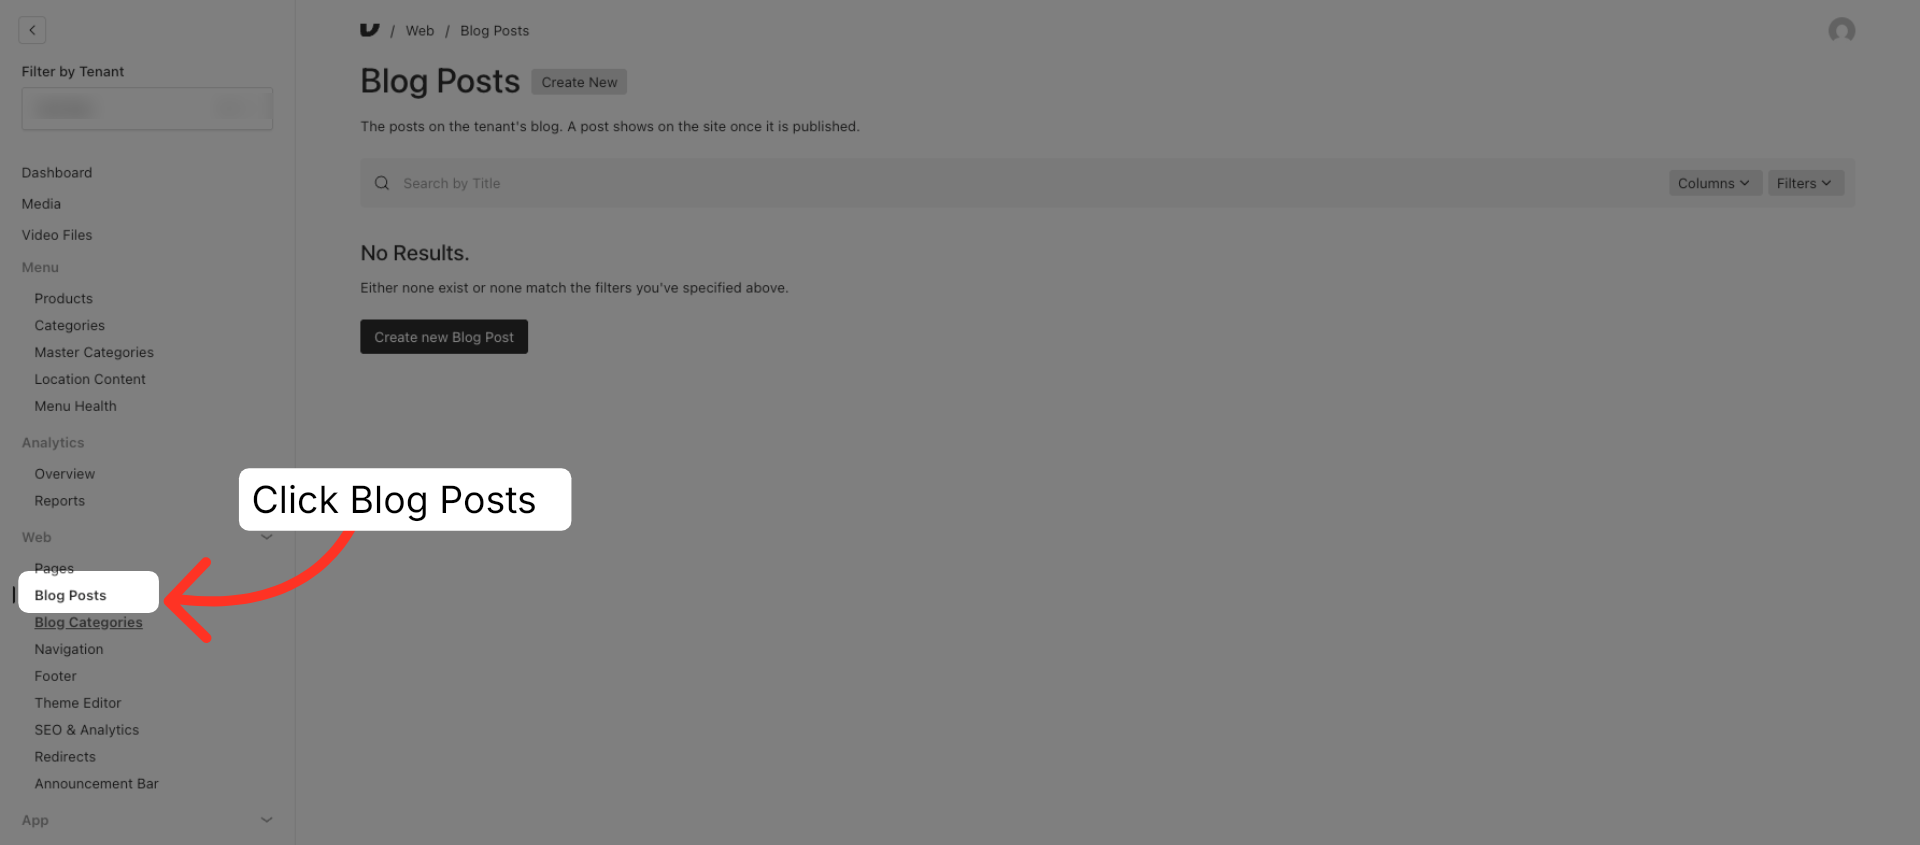
8. Web - Blog Posts
Clicking the Blog Posts section enables you to create posts for your blog.
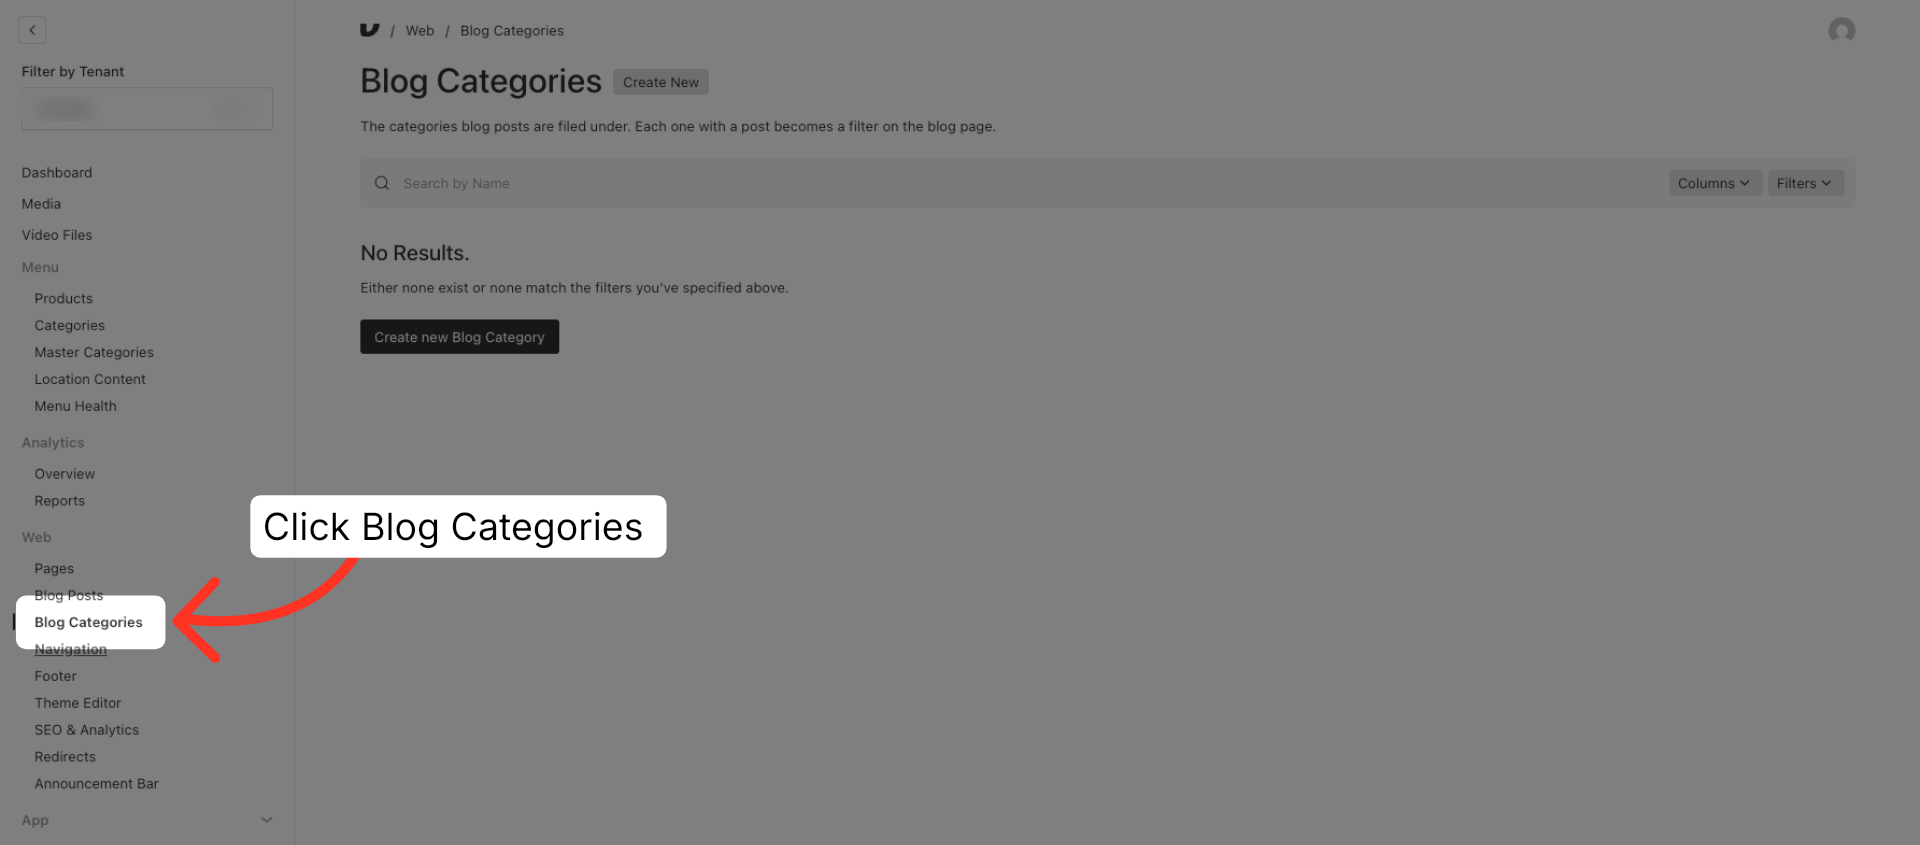
9. Web - Blog Categories
The Blog Categories Section enables you to create distinct categories that can be assigned to your Blog Posts.
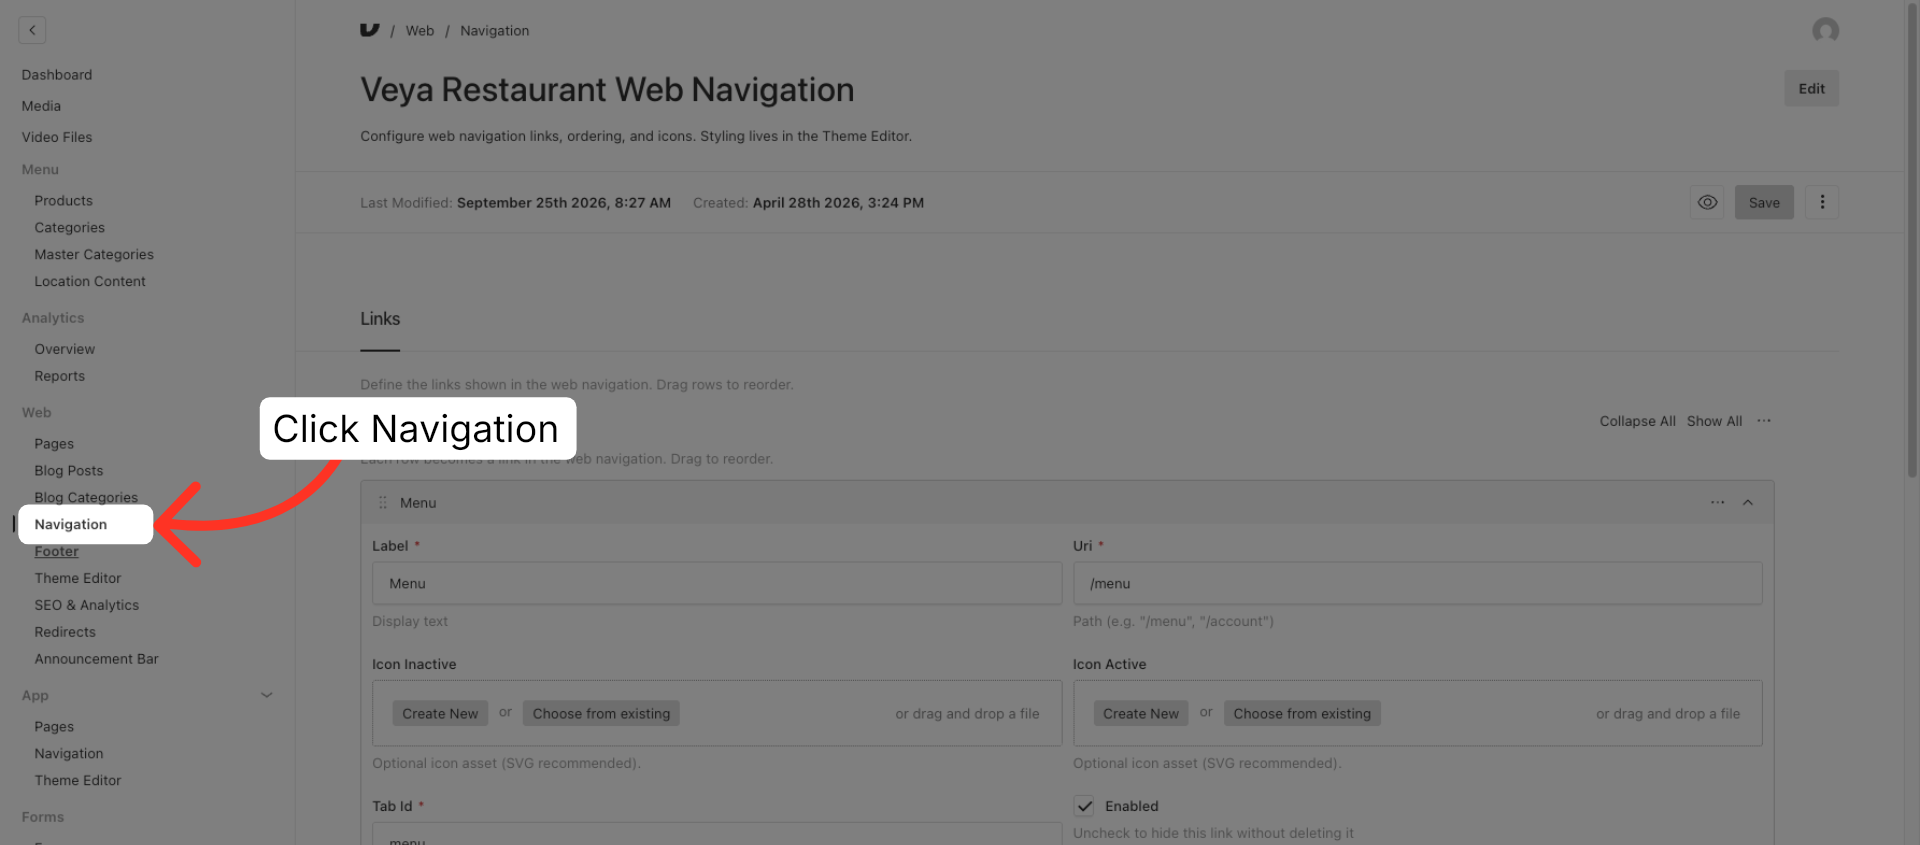
10. Web - Navigation
The navigation section allows you to create and edit navigation links for your website.
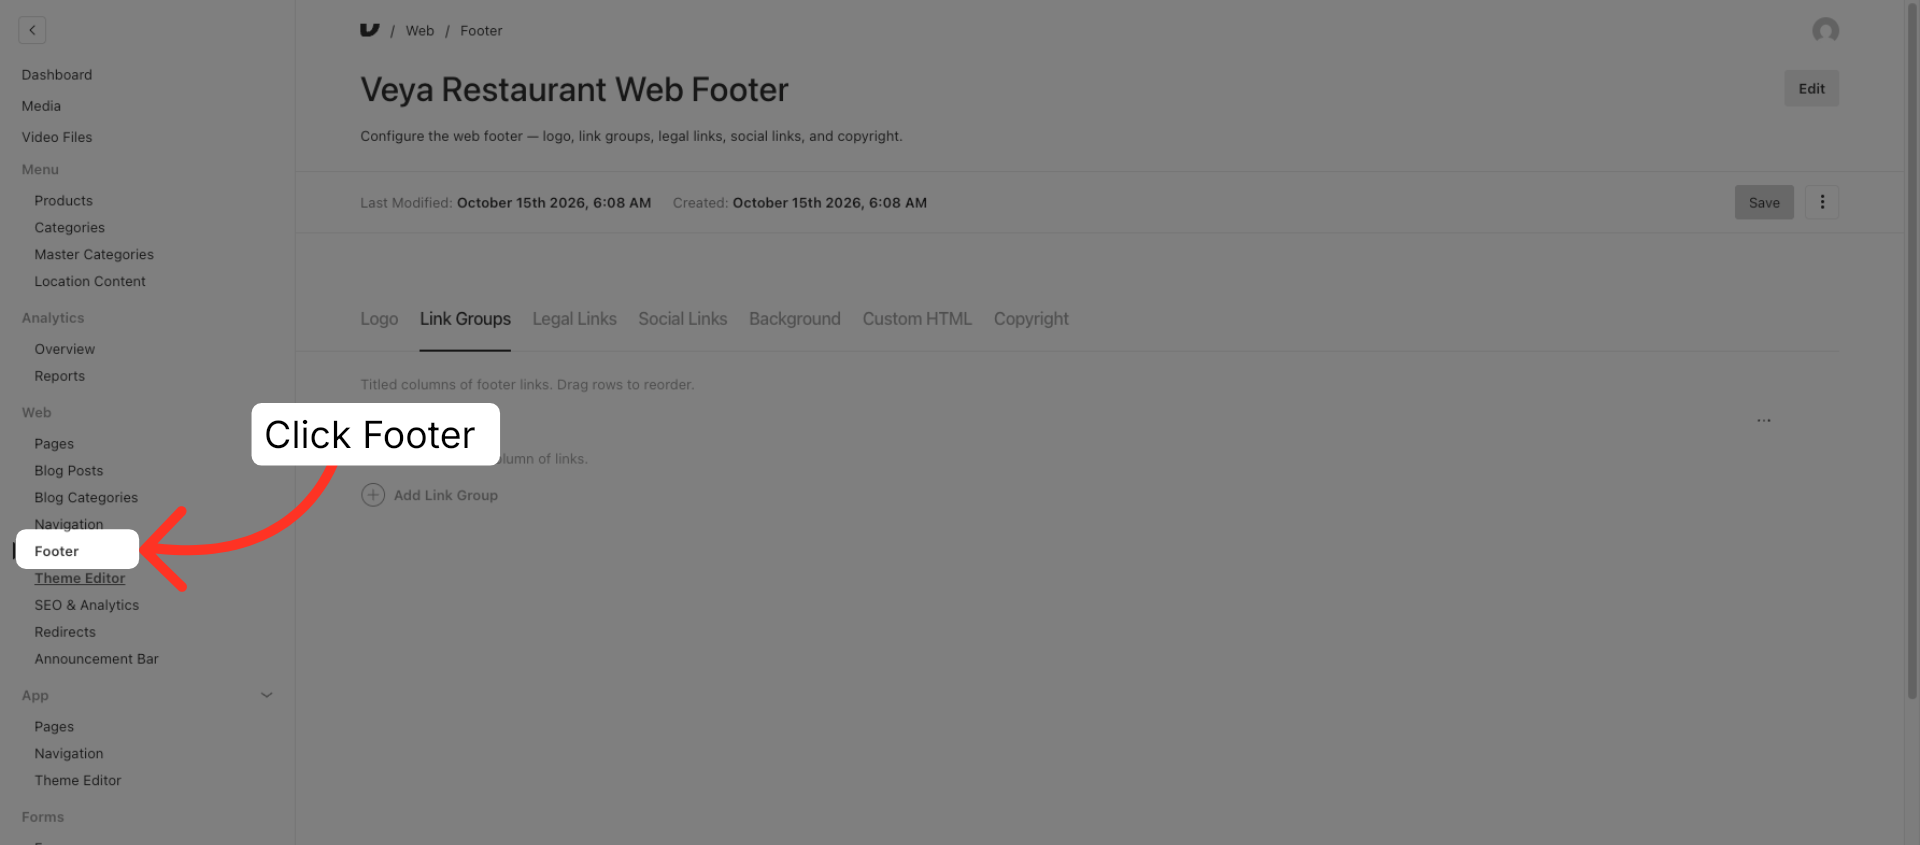
11. Web - Footer
The footer section serves a similar purpose; it allows you to create page links, organize link groups, and include specific copyright information for the footer area.
12. Web - Theme Editor
The theme editor allows you to apply a range of customizations across various pages, including the menu, product detail pages, shopping bag and checkout areas, location pages, loyalty sections, as well as components like buttons and form fields. Comprehensive guides will be provided to clarify the functionality of each section and the editing process.
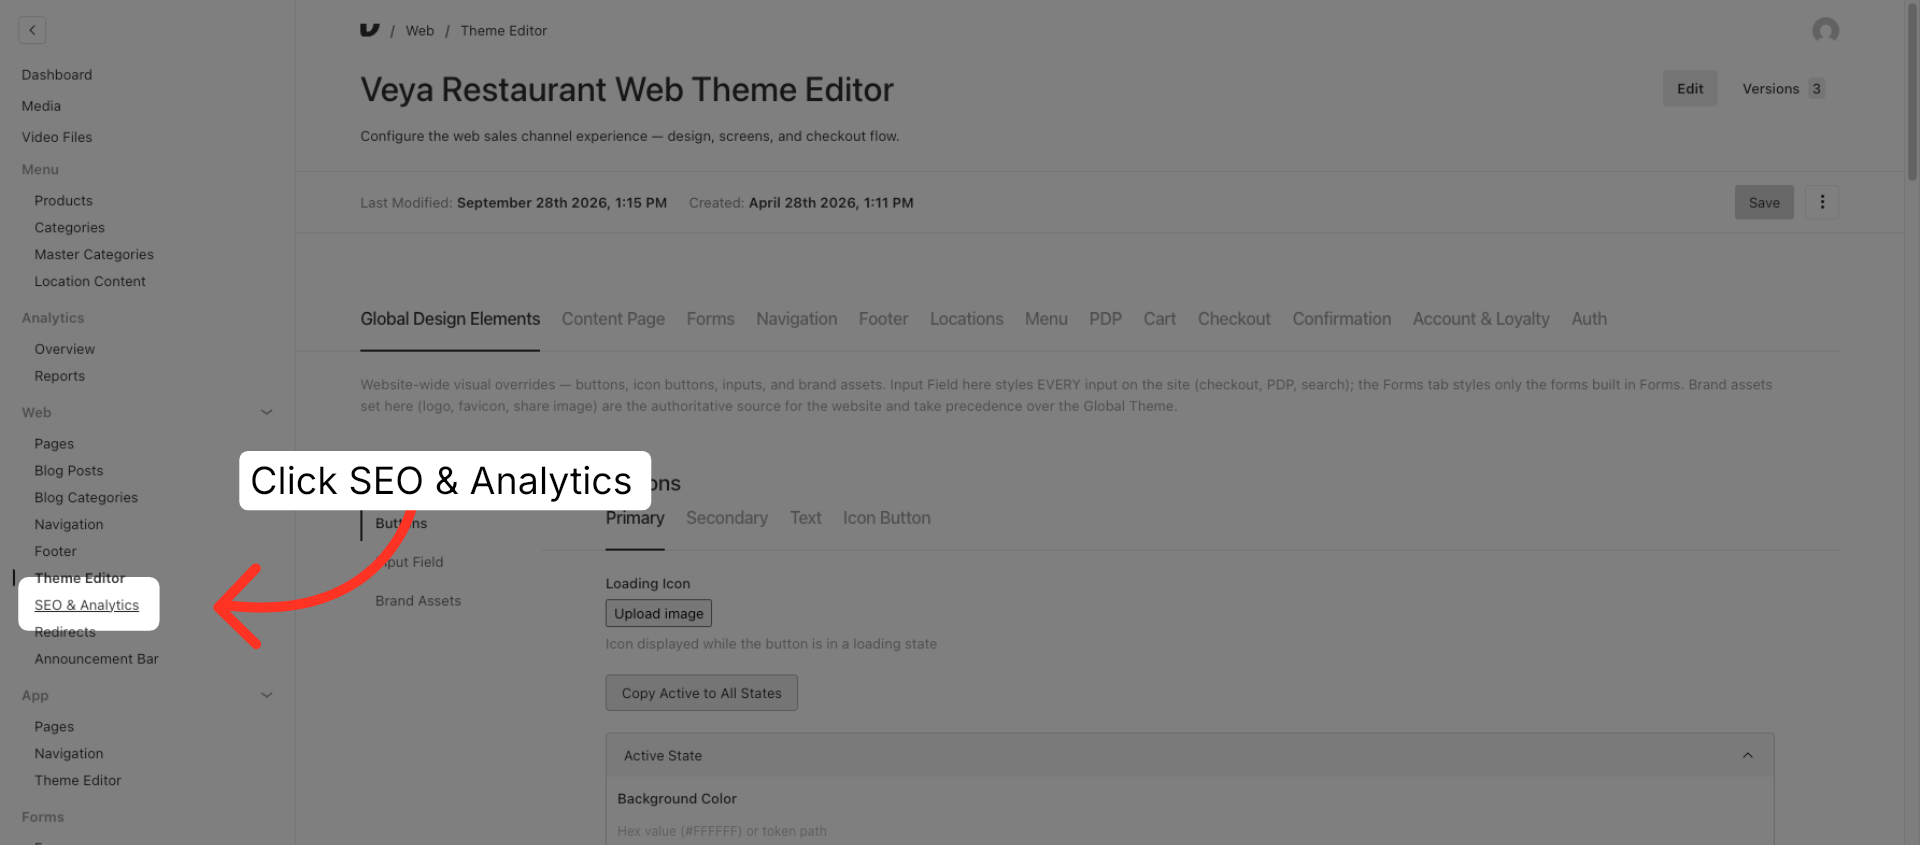
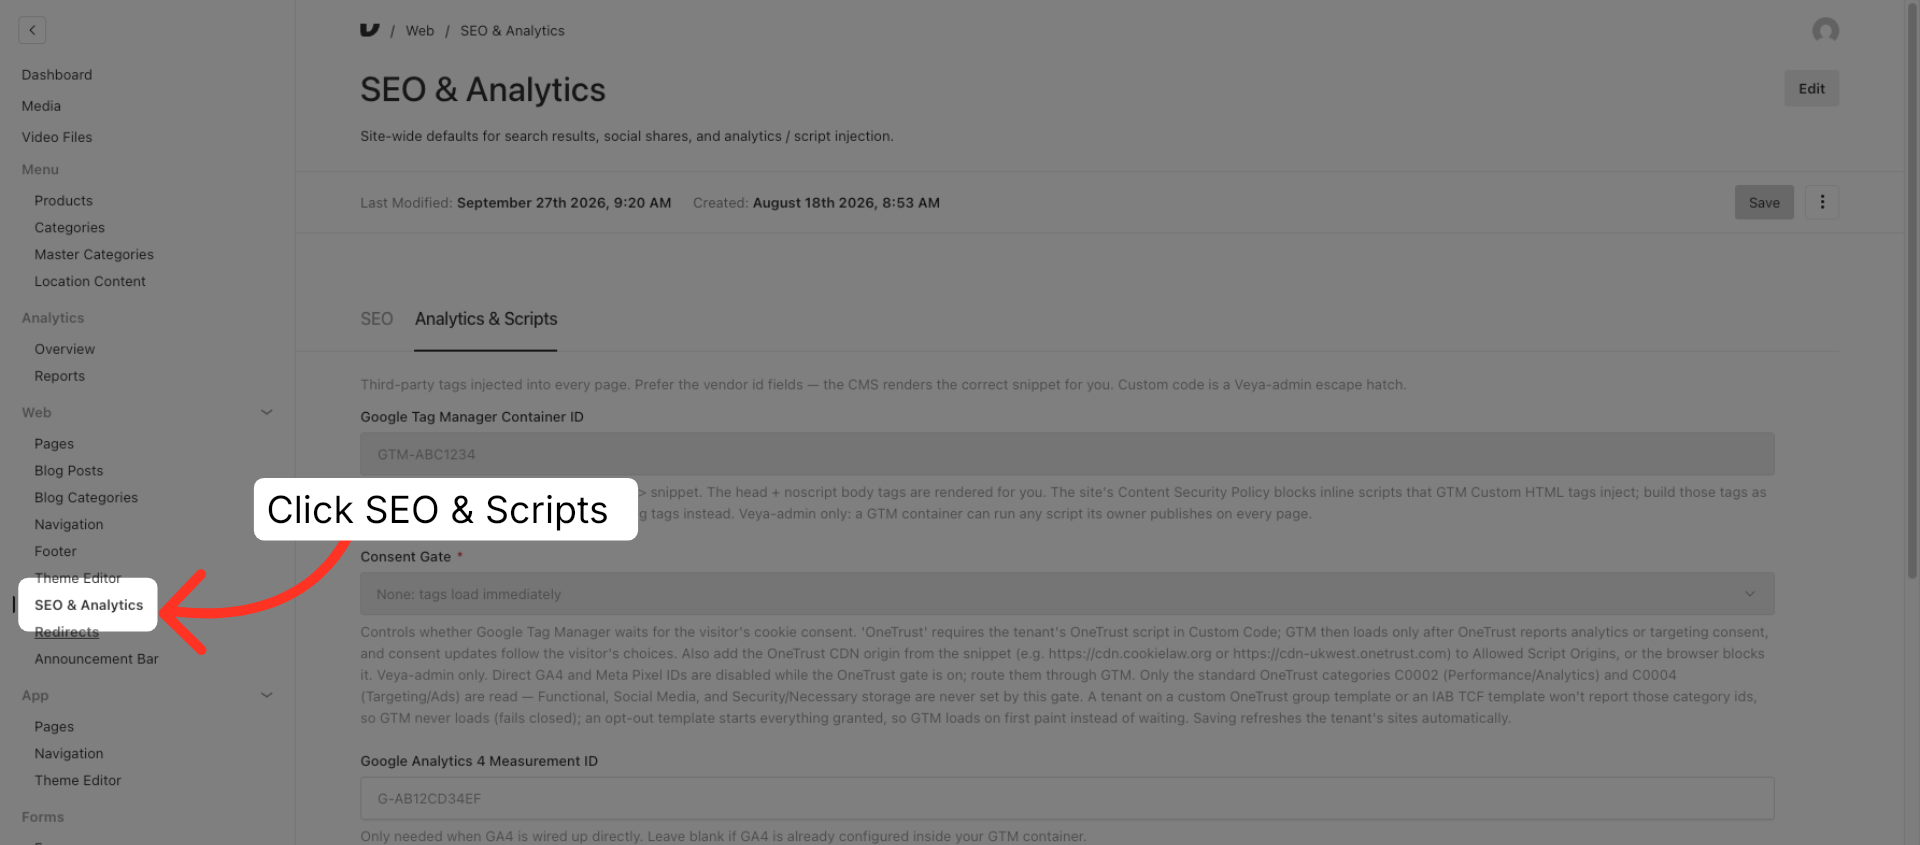
13. Web - SEO & Scripts
The SEO and scripts section is where you initially configure your SEO titles and meta descriptions for the primary domain. If you have specific script requirements, such as Google Tag Manager or GA4, those id's can be incorporated here to apply across your site. Should you intend to implement any custom scripts, the Veya team is available to assist you. For instance, if you're utilizing scripts like Attentive or scripts such as One Trust or User Way, those can be added here, and the Veya team can provide support.
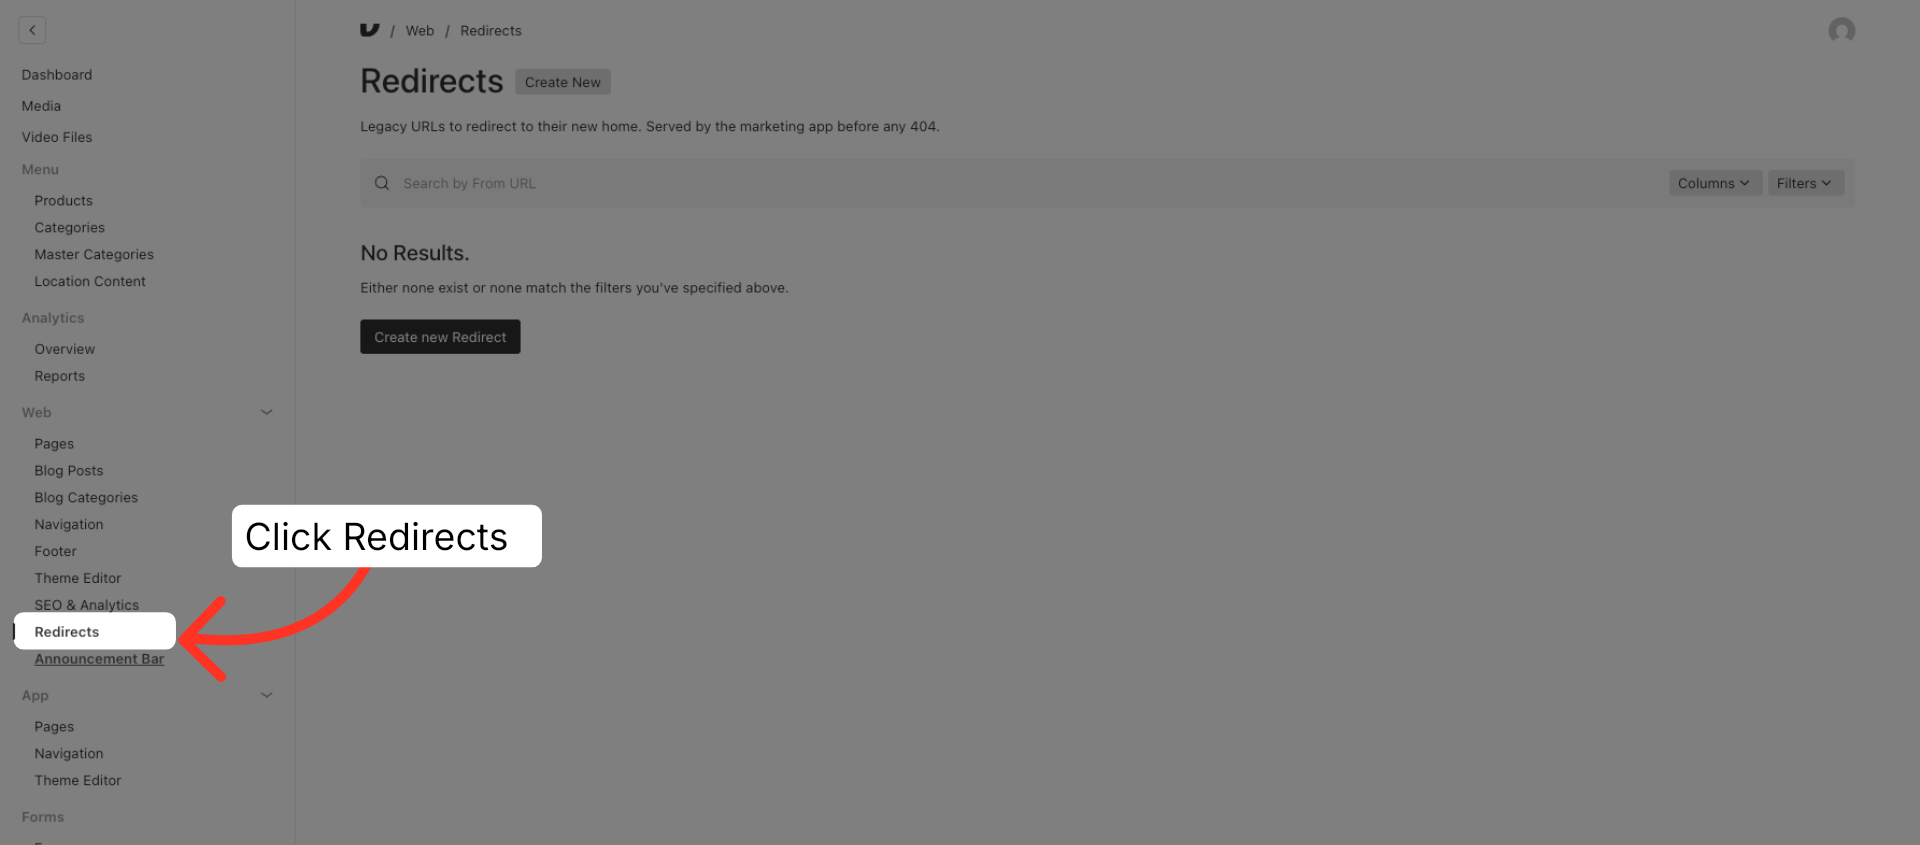
14. Web - Redirects
If you have redirect needs, such as a 301 for an old link, you can set those up here.
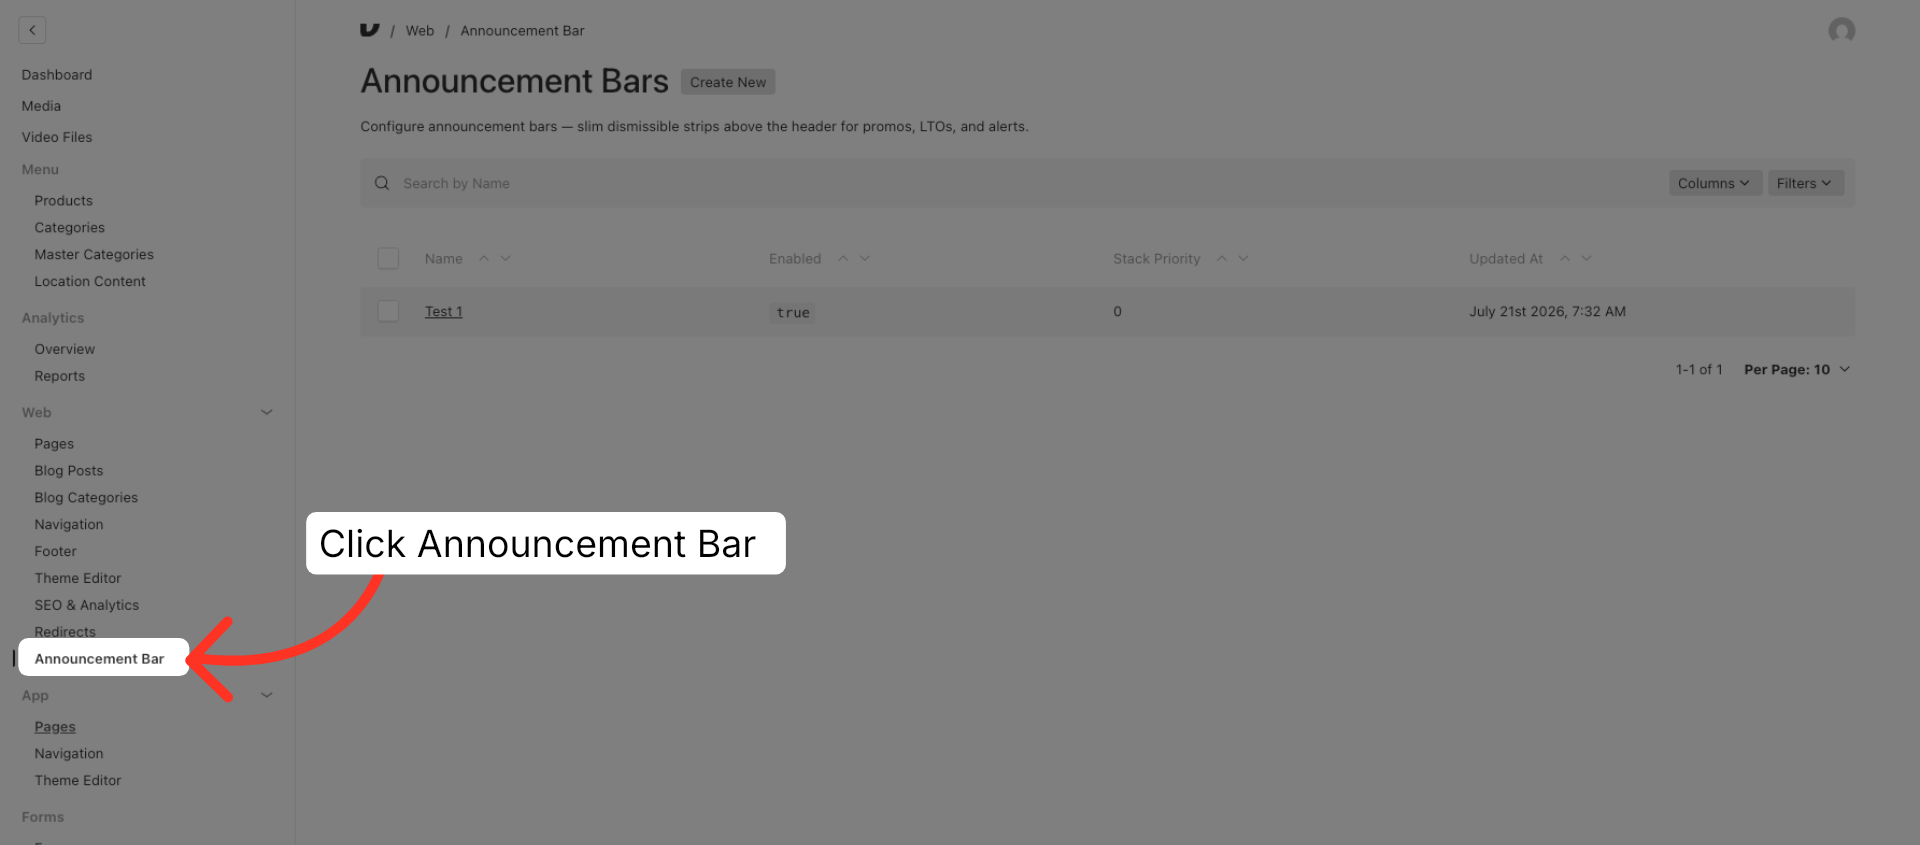
15. Web - Announcement Bar
The announcement bar area allows you to add a specific announcement across the top of your web experience.
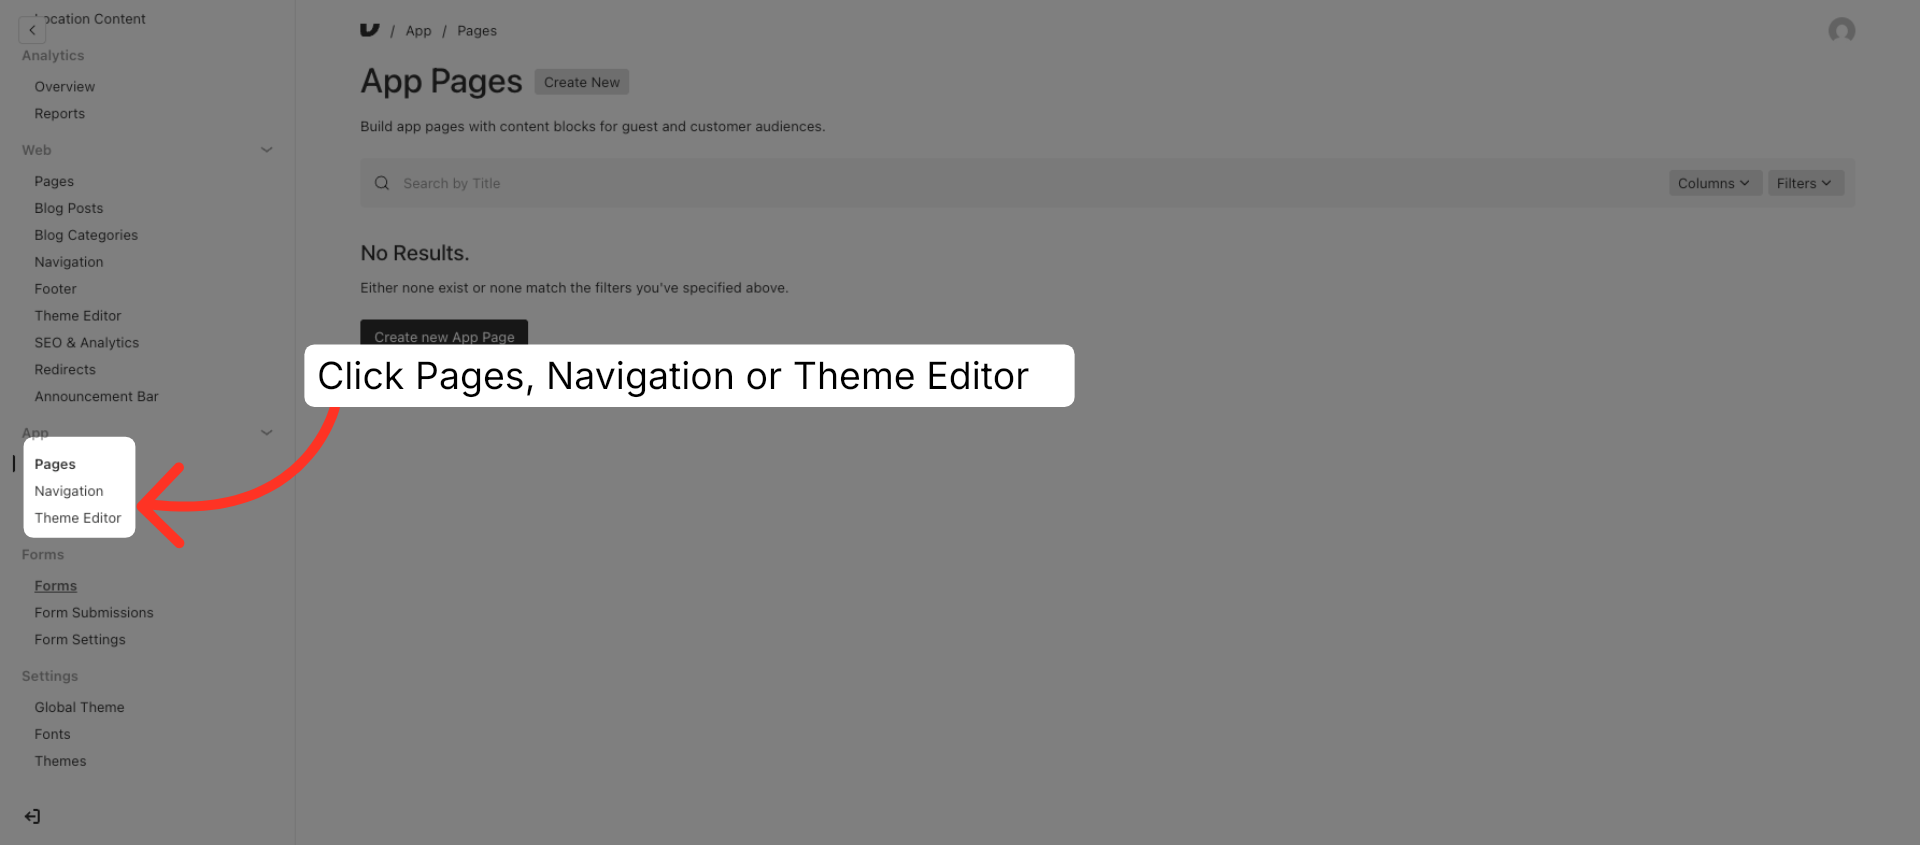
16. App
Similar to the web section, the app sections maintain a similar structure, featuring a pages, navigation and theme editor area where you can set up and modify content specific to your app pages.
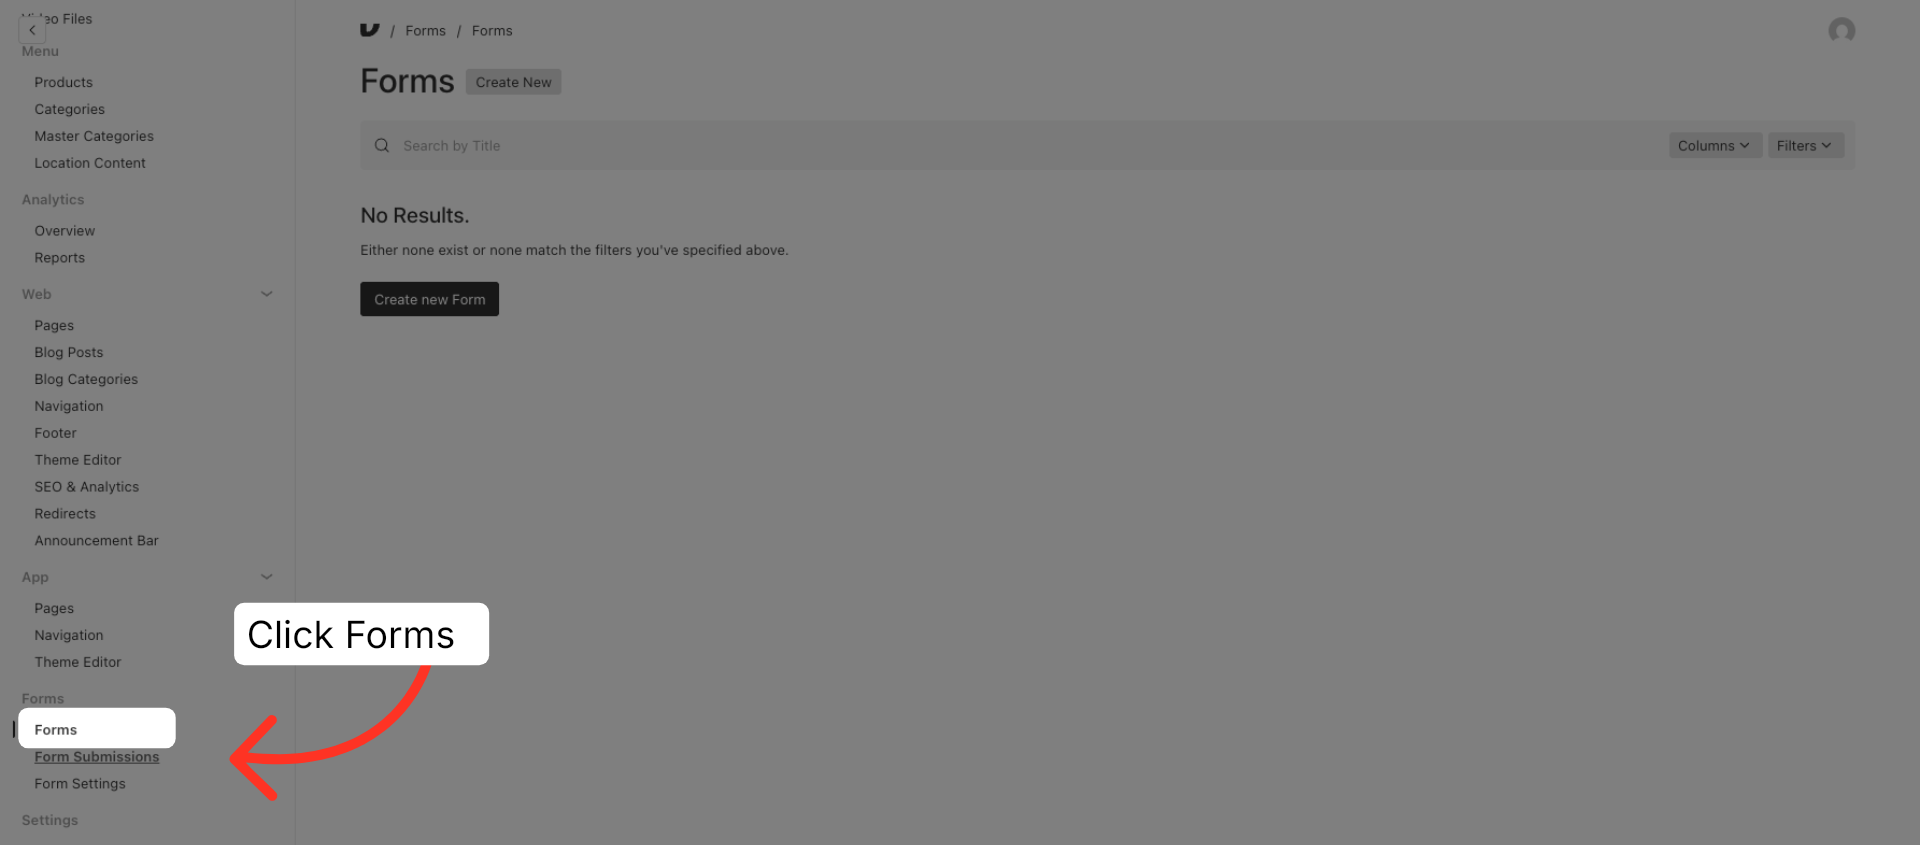
17. Forms
The Forms section allows you to create forms that can be added to dedicated pages or integrated as content blocks within other pages across your site.
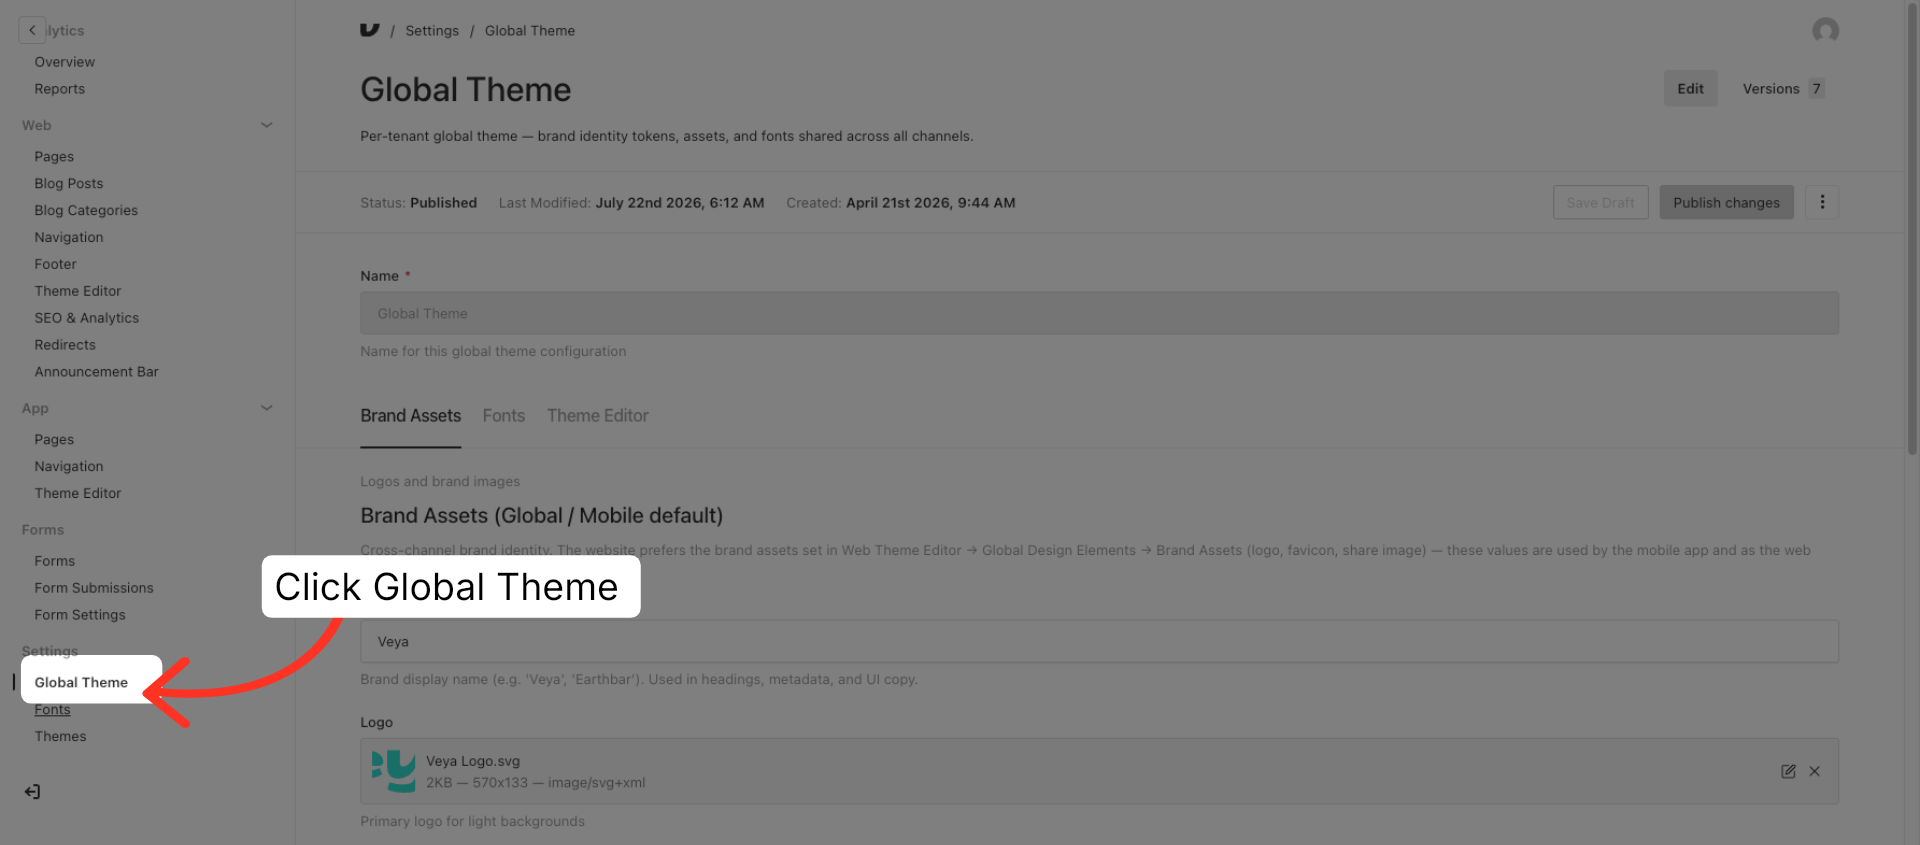
18. Settings - Global Theme
The Global Theme Settings allow you to upload specific logo's that you wish to use throughout your site.
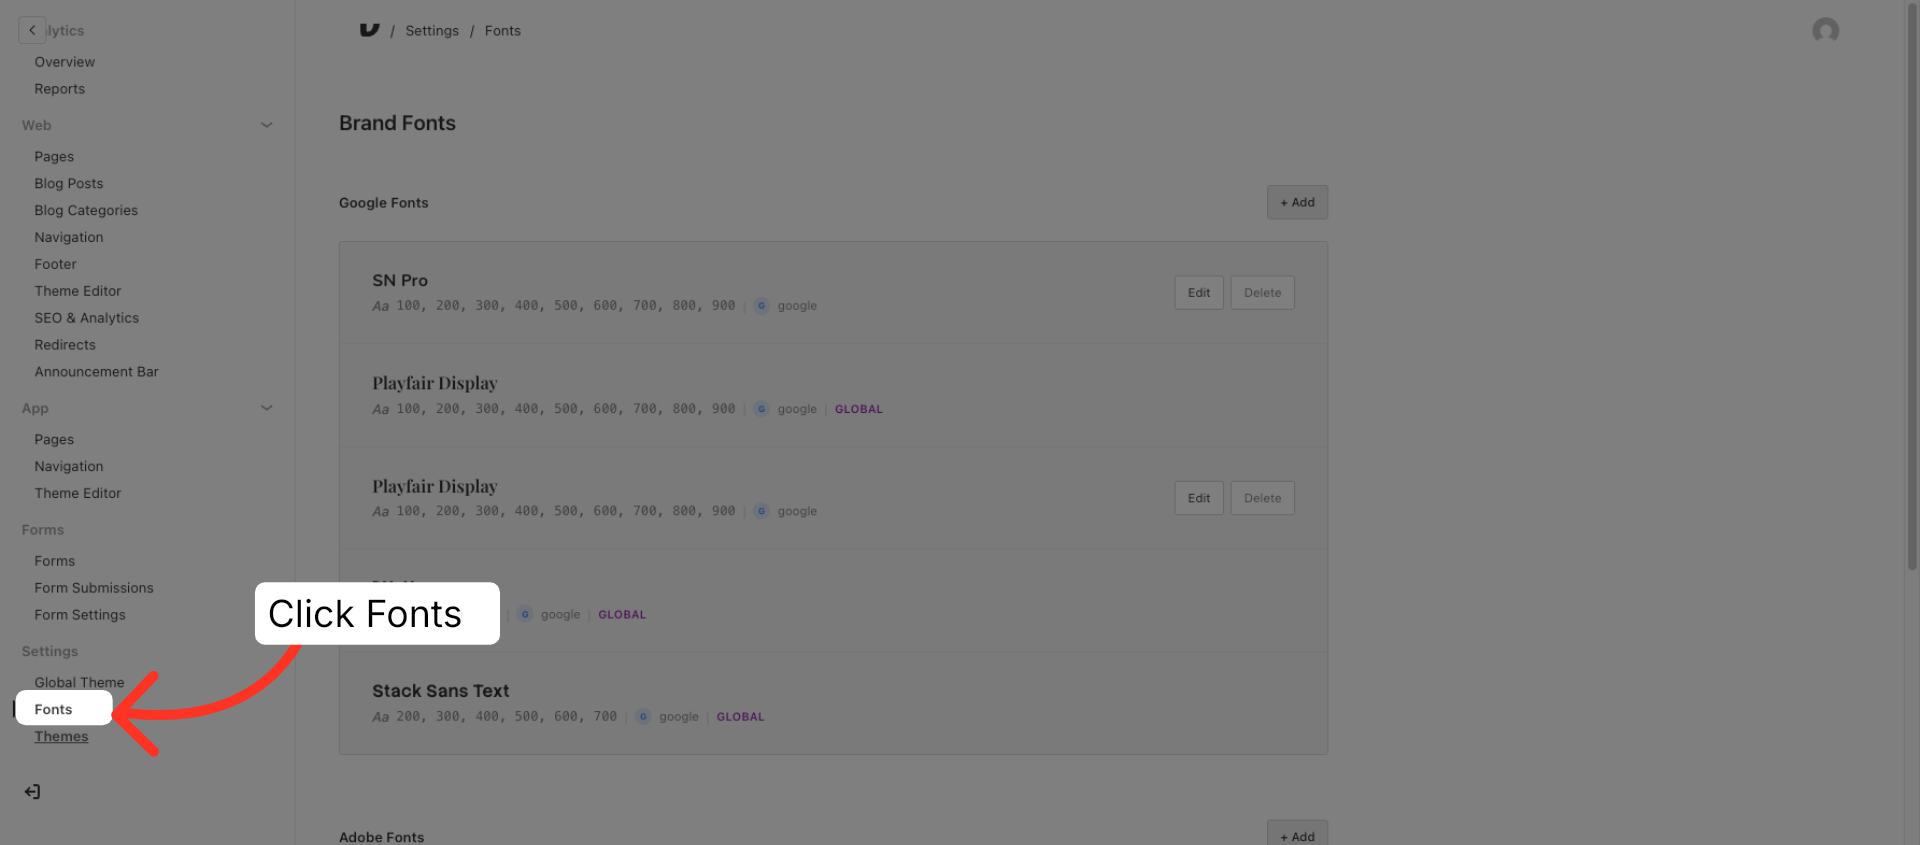
19. Settings - Fonts
The CMS supports custom fonts, which can be added in the Fonts section under the Settings category. The Veya implementation team will handle the upload of all your fonts and logo's. However, if you prefer a hands-on approach for updating a logo or custom font in the future, you can do so within the Settings area.
This article has guided you through navigating the CMS interface, reviewing categories, and managing various content sections, including media, products, web and app customizations, and branding assets. By following these steps, you can achieve efficient content management and customization within the Veya platform.