
1.5 Overview of Pages and Layouts
In this article group
- 1.1 Login Process for Veya CMS
- 1.2 How to Recover Access to the CMS
- 1.3 Exploring the Dashboard and CMS
- 1.4 Select Your Brand with the Tenant Filter
- 1.6 Save a Draft, Preview and Publish
- 1.7 Preview Page Changes Across Devices
- 1.8 Restore a Previous Page Version
- 1.9 Upload and Organize Images in the Media Library
- 1.10 Image & Size Specs for Content Layouts
In this walkthrough, you will receive an overview of pages and layouts.
Go to cms.builtonveya.com
1. Access the Pages Section
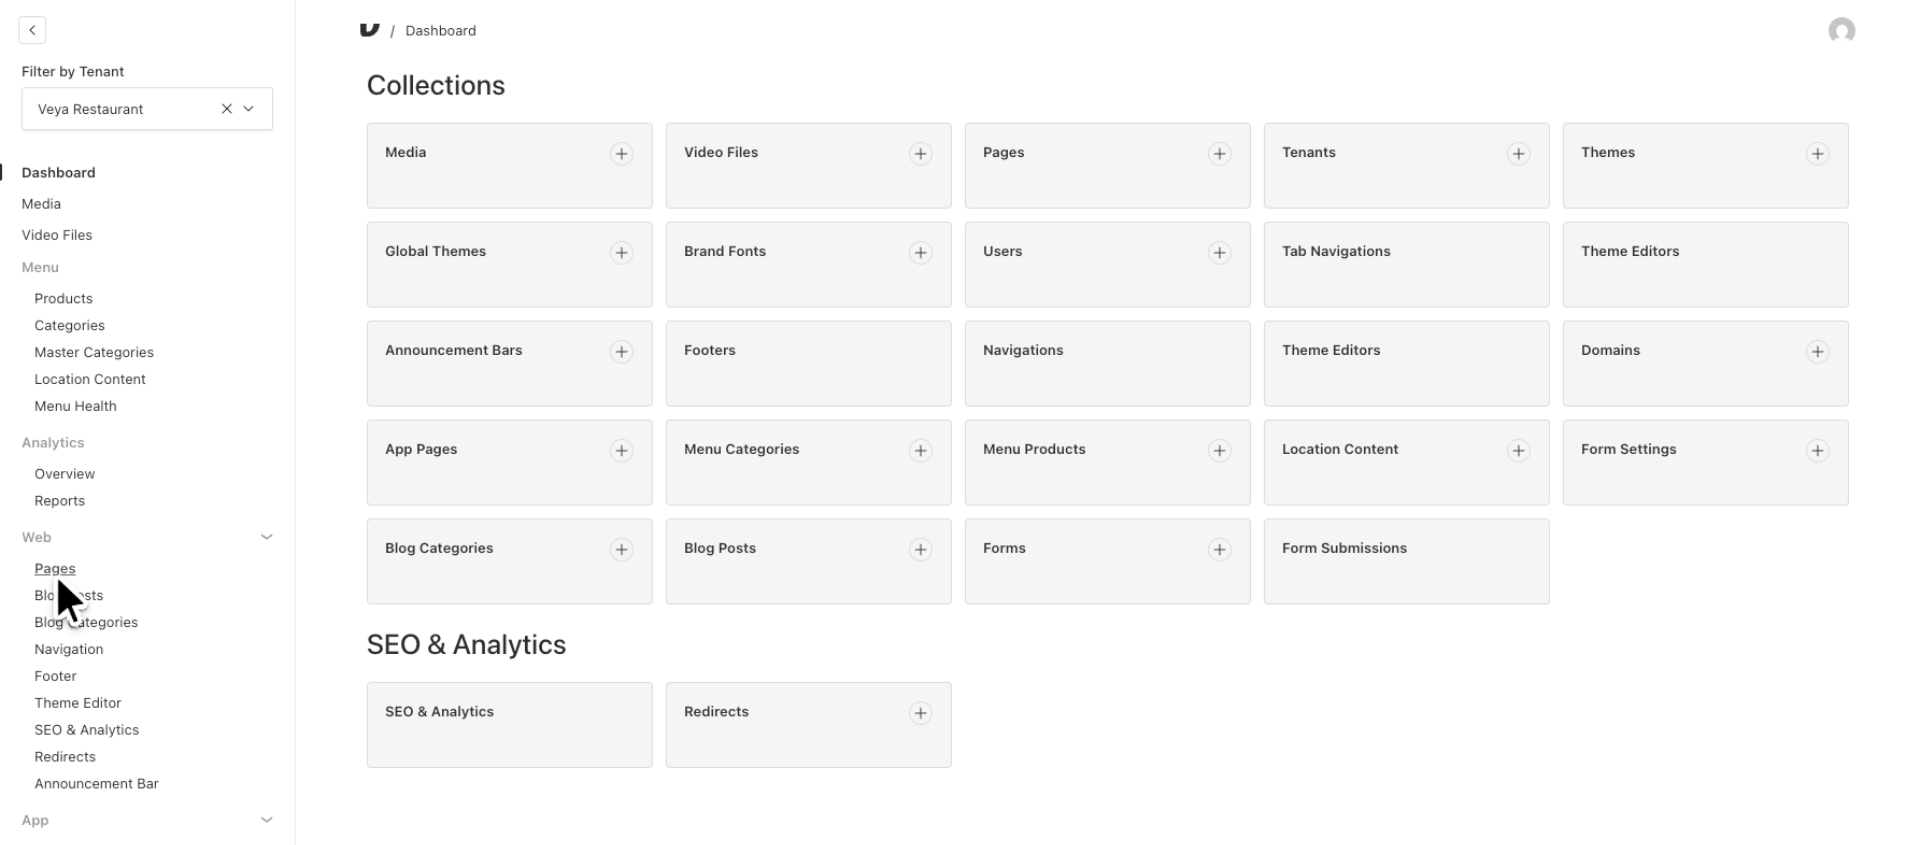
In this example, let’s examine the pages created for your brand’s website. Scroll down to the section labeled "Web" and click on "Pages."
2. Understand Built-In and Custom Pages
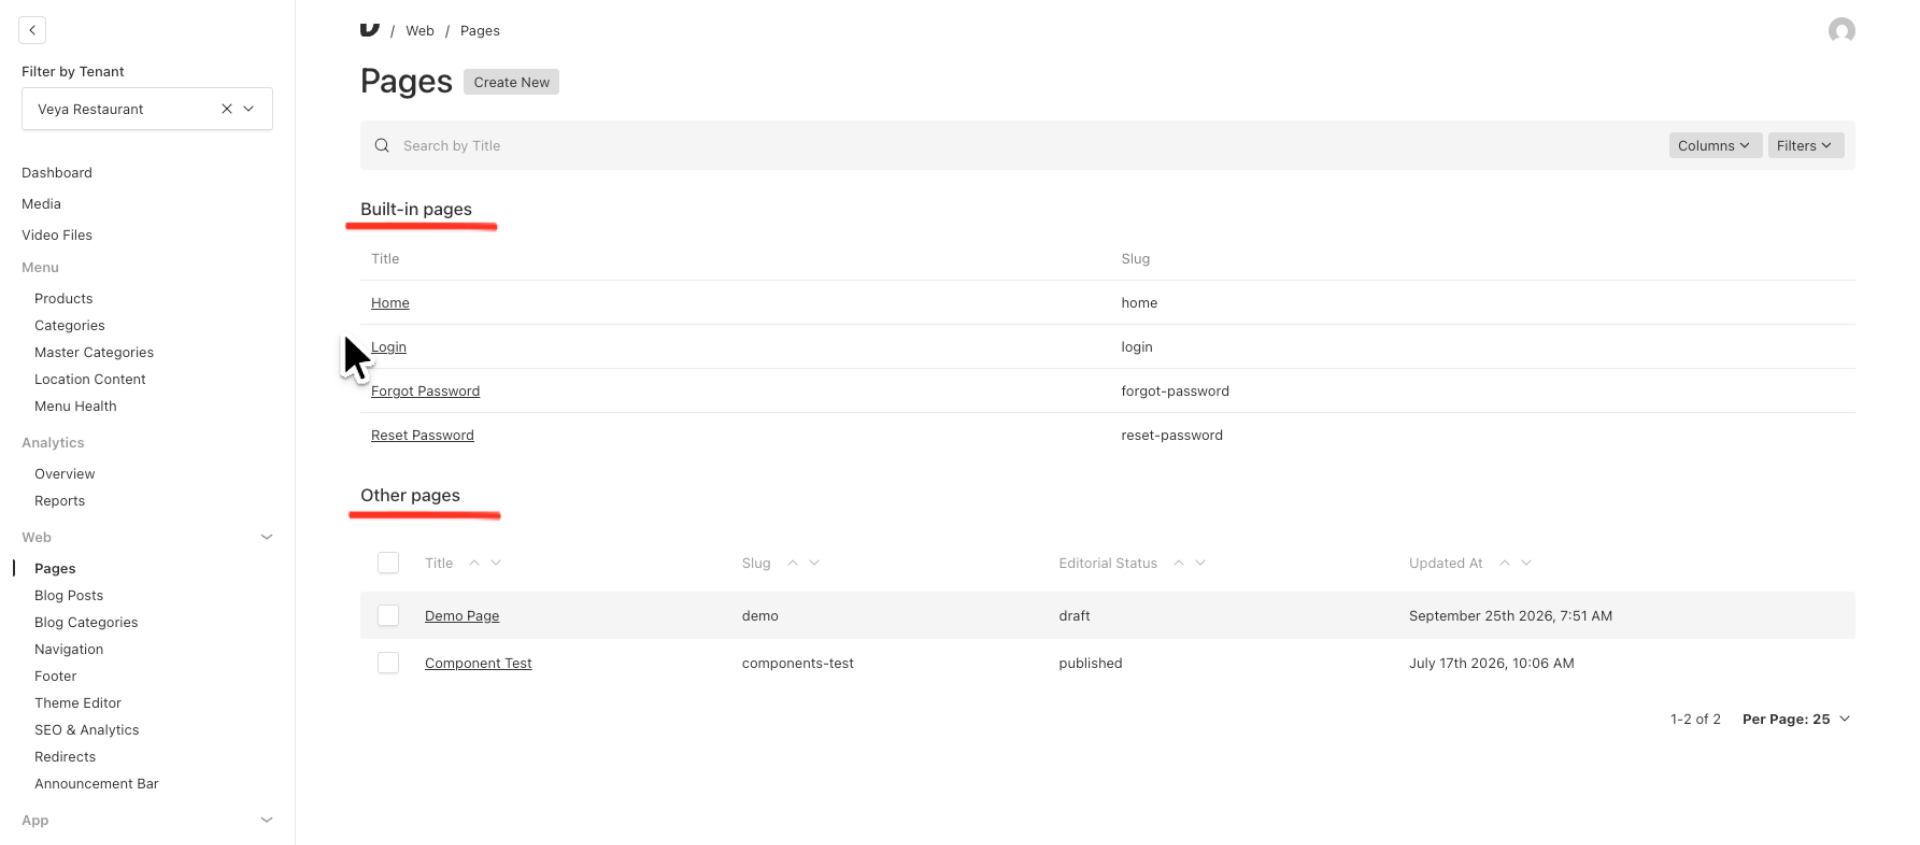
The pages screen is divided into two sections. At the top is "Built-in pages," which includes pages that must be available by default, such as your Homepage and specific pages related to guest login. The second section is labeled "Other Pages," encompassing all your content marketing pages, legal pages, and any additional pages necessary for your brand. Now, let’s take a closer look at the Homepage. Click on "Home" in the Built-in Pages area.
3. Expand a Content Block
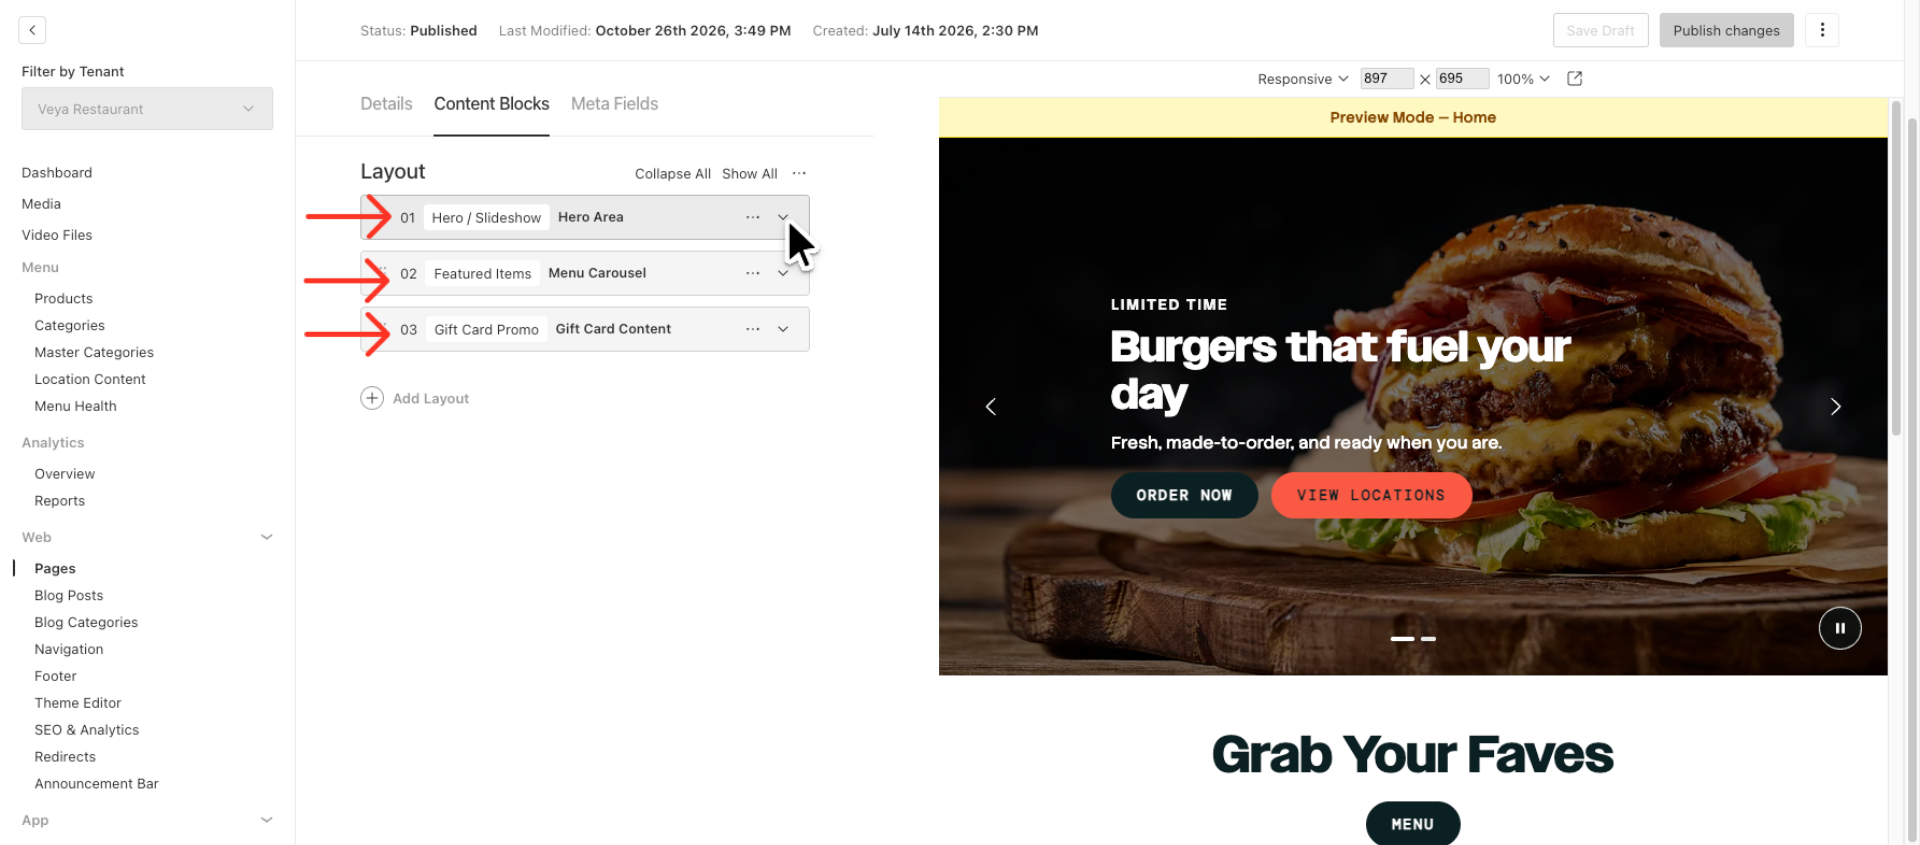
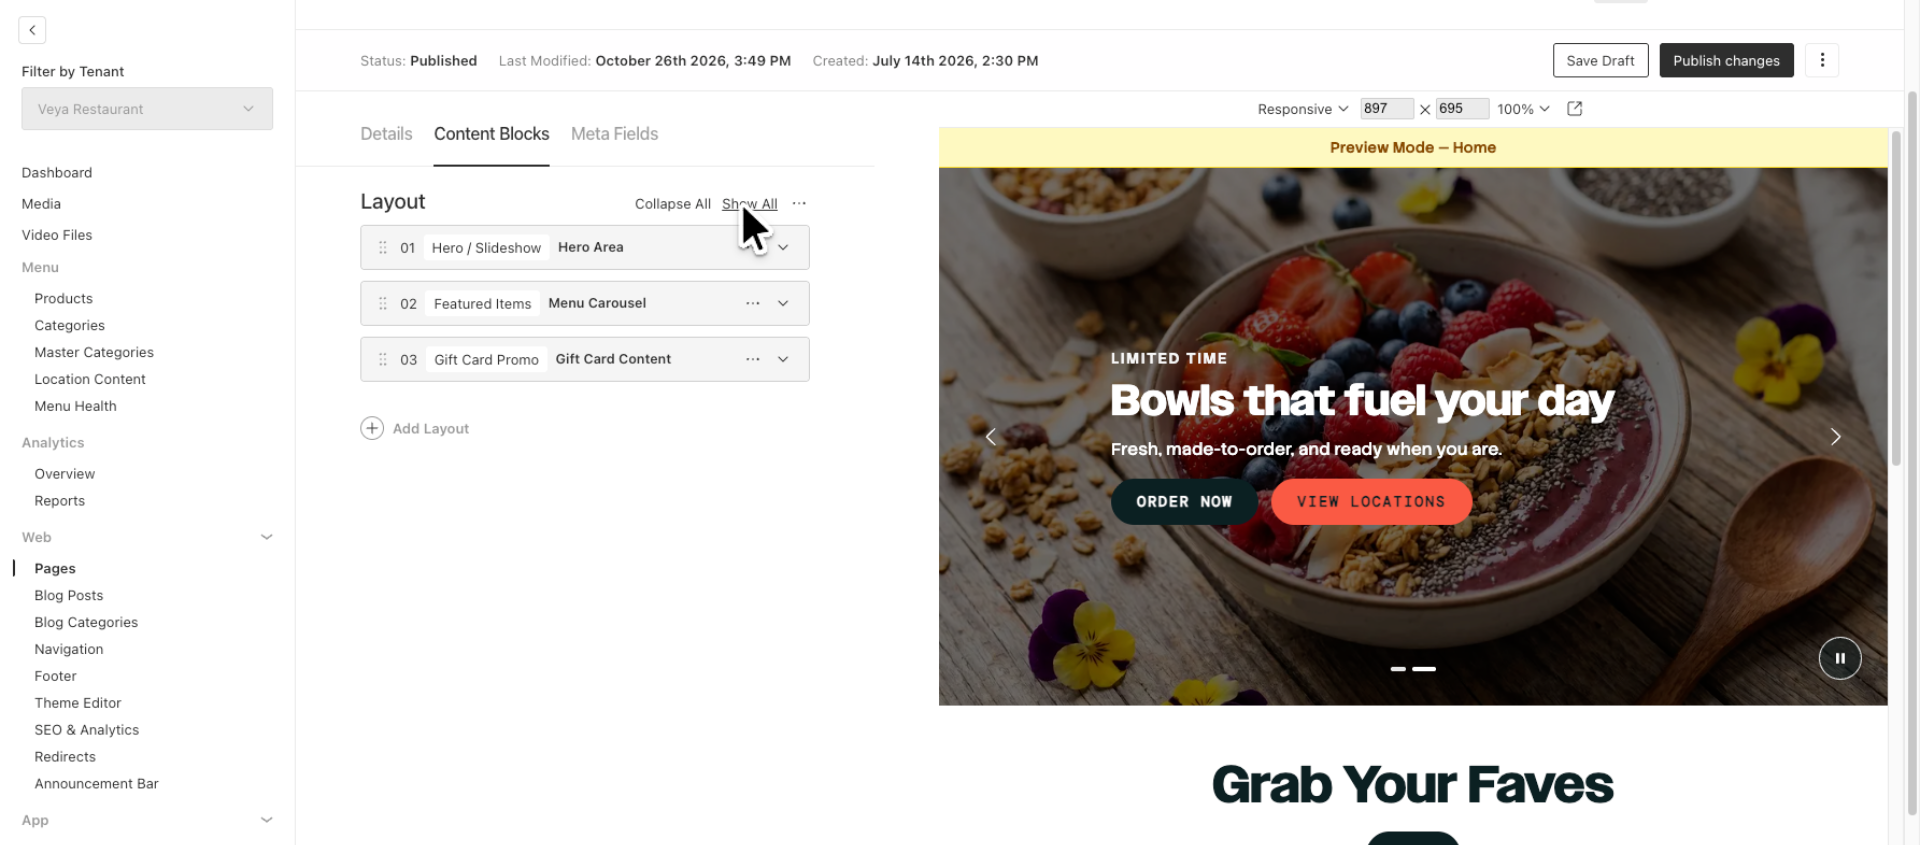
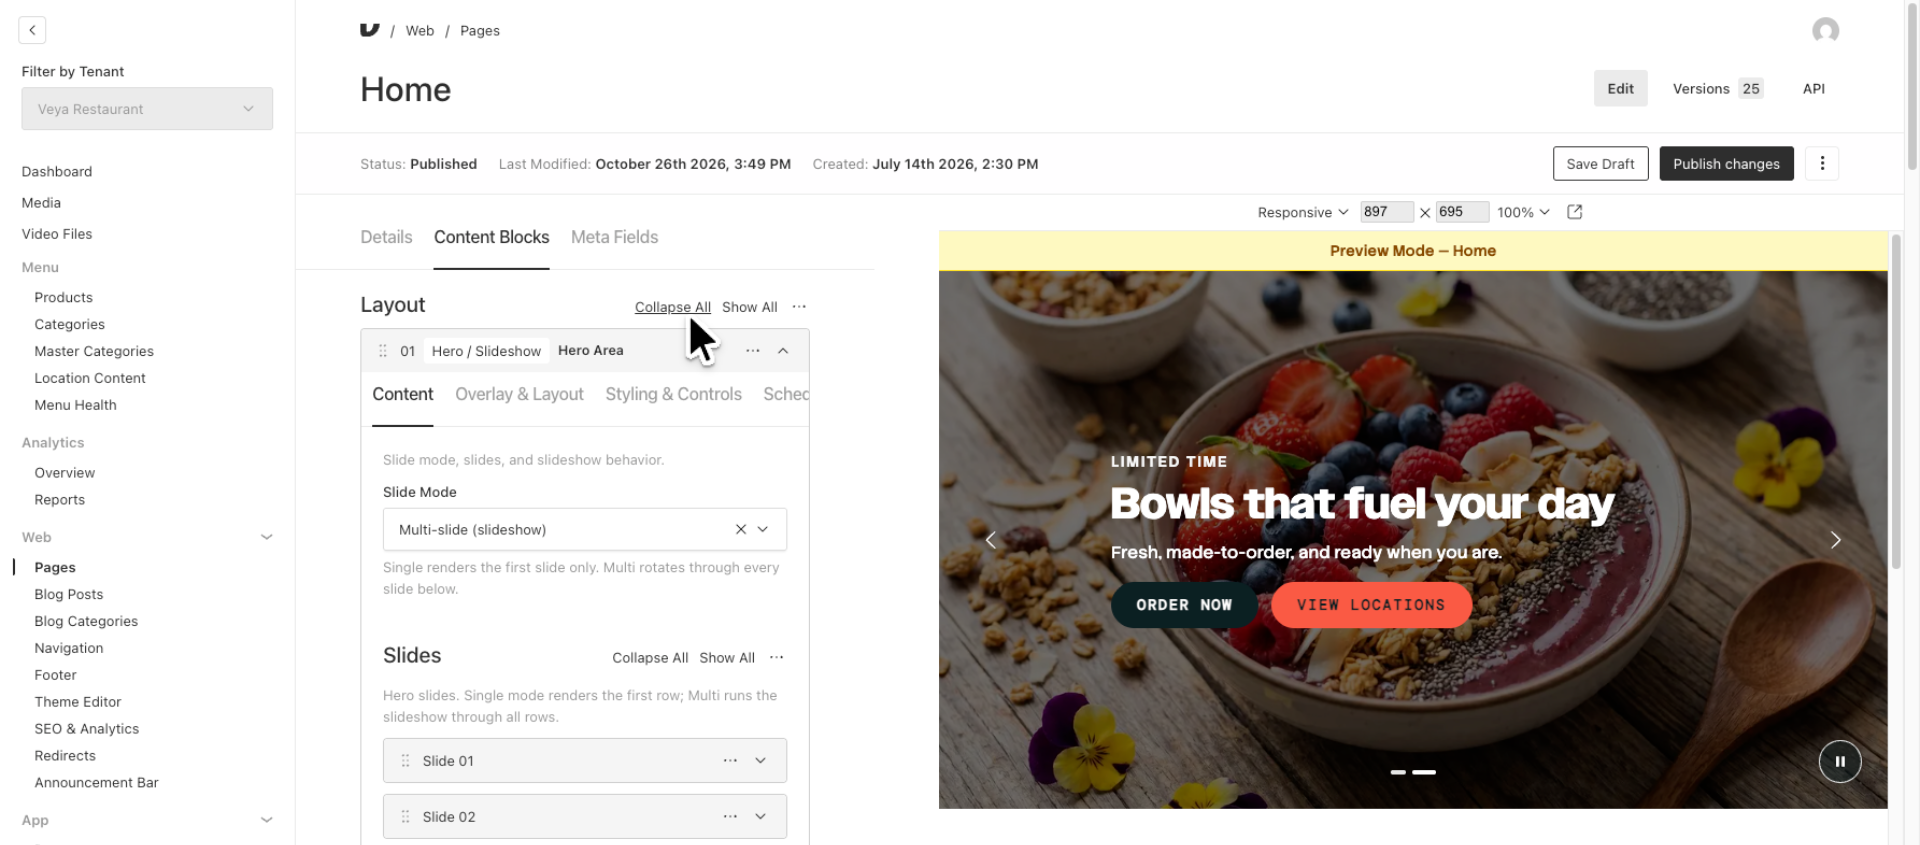
In this example, you will observe that the homepage includes three distinct layouts: a Hero Slideshow, a Featured Items Layout, and a Gift Card Promo Layout. To access the content and settings of a specific layout, click on the down icon associated with the layout you wish to edit. Now, let’s expand the Hero / Slide show layout.
4. View Pre-Loaded Layouts
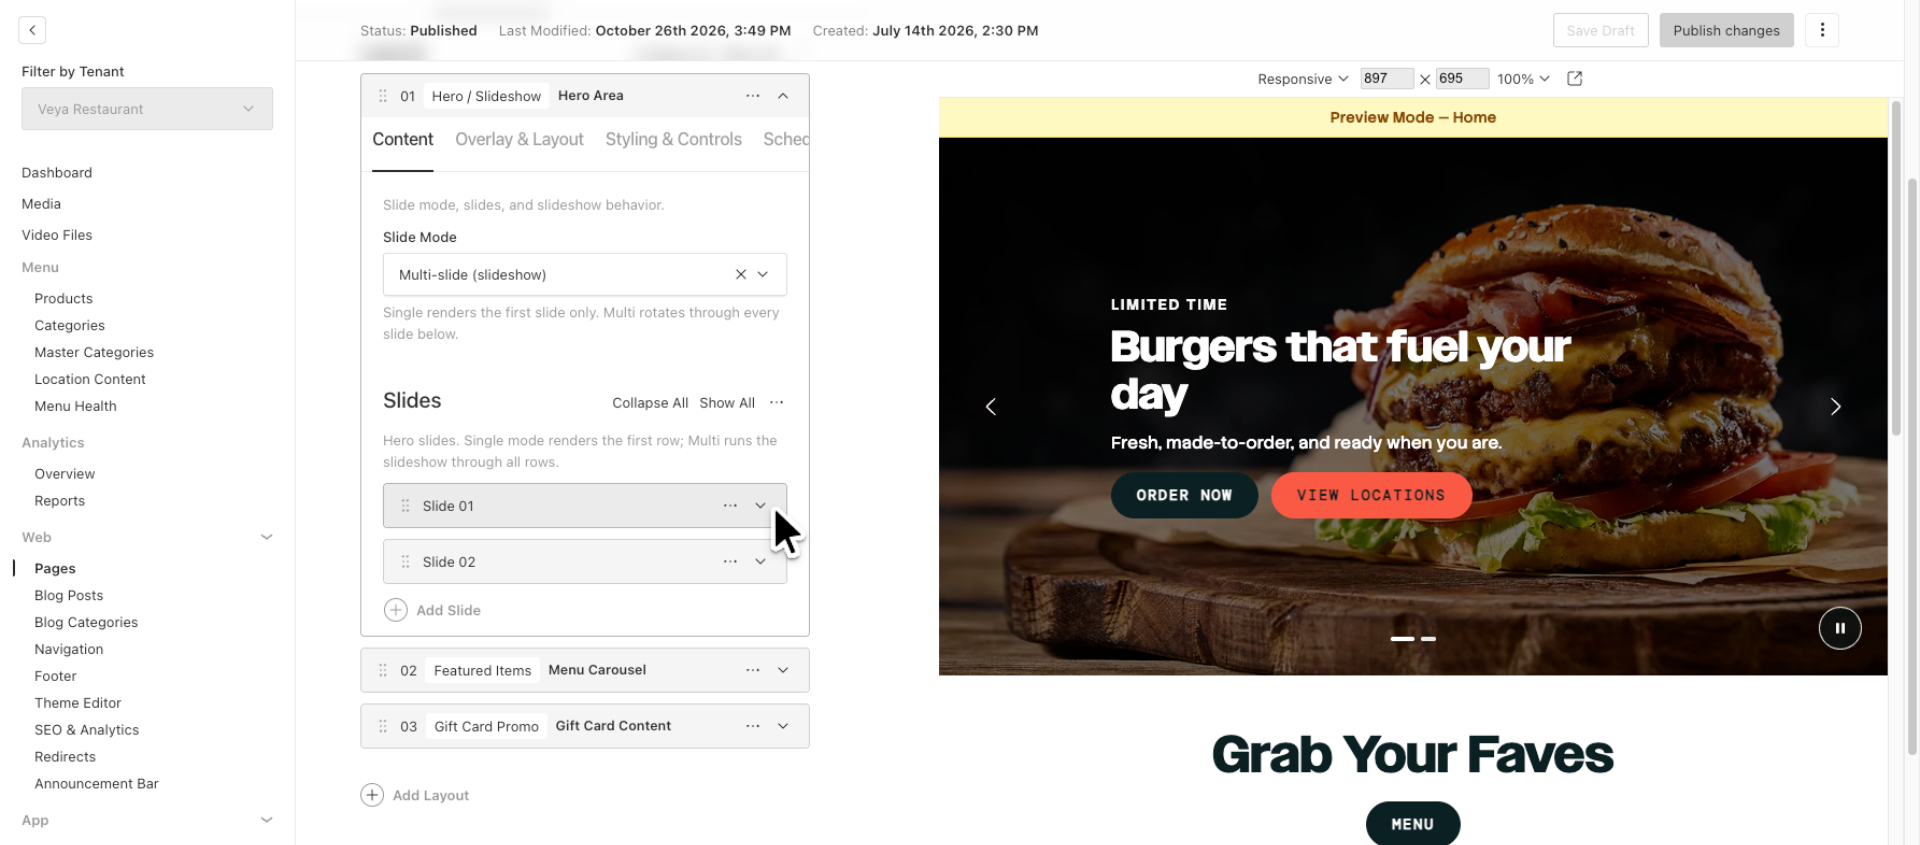
Once the layout section is expanded, we can start editing its pre-configured options. In this example, you will notice that two slides have been added to the carousel. Let's open Slide 1 by clicking on the Down arrow to review the content options.
5. View Content Example
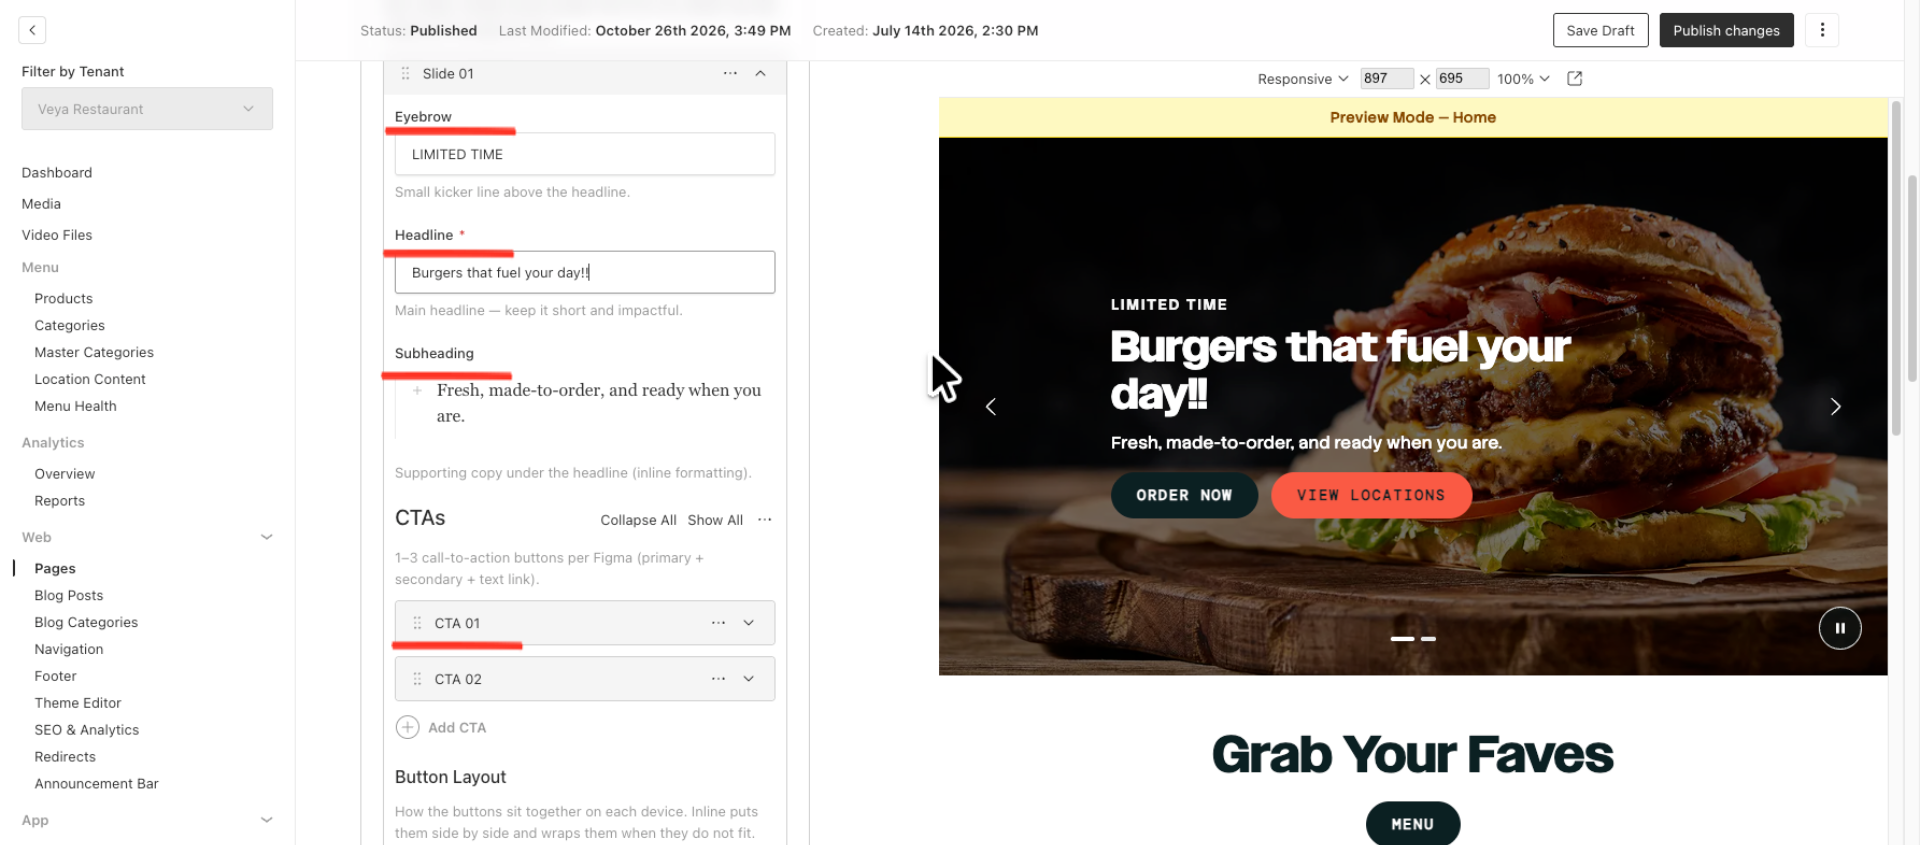
In the content for Slide 1, I can see the Eyebrow, Headline, and Subheading that have been created. Currently, there are two configured CTA buttons, labeled CTA 1 and CTA 2.
6. Collapse a Content Block
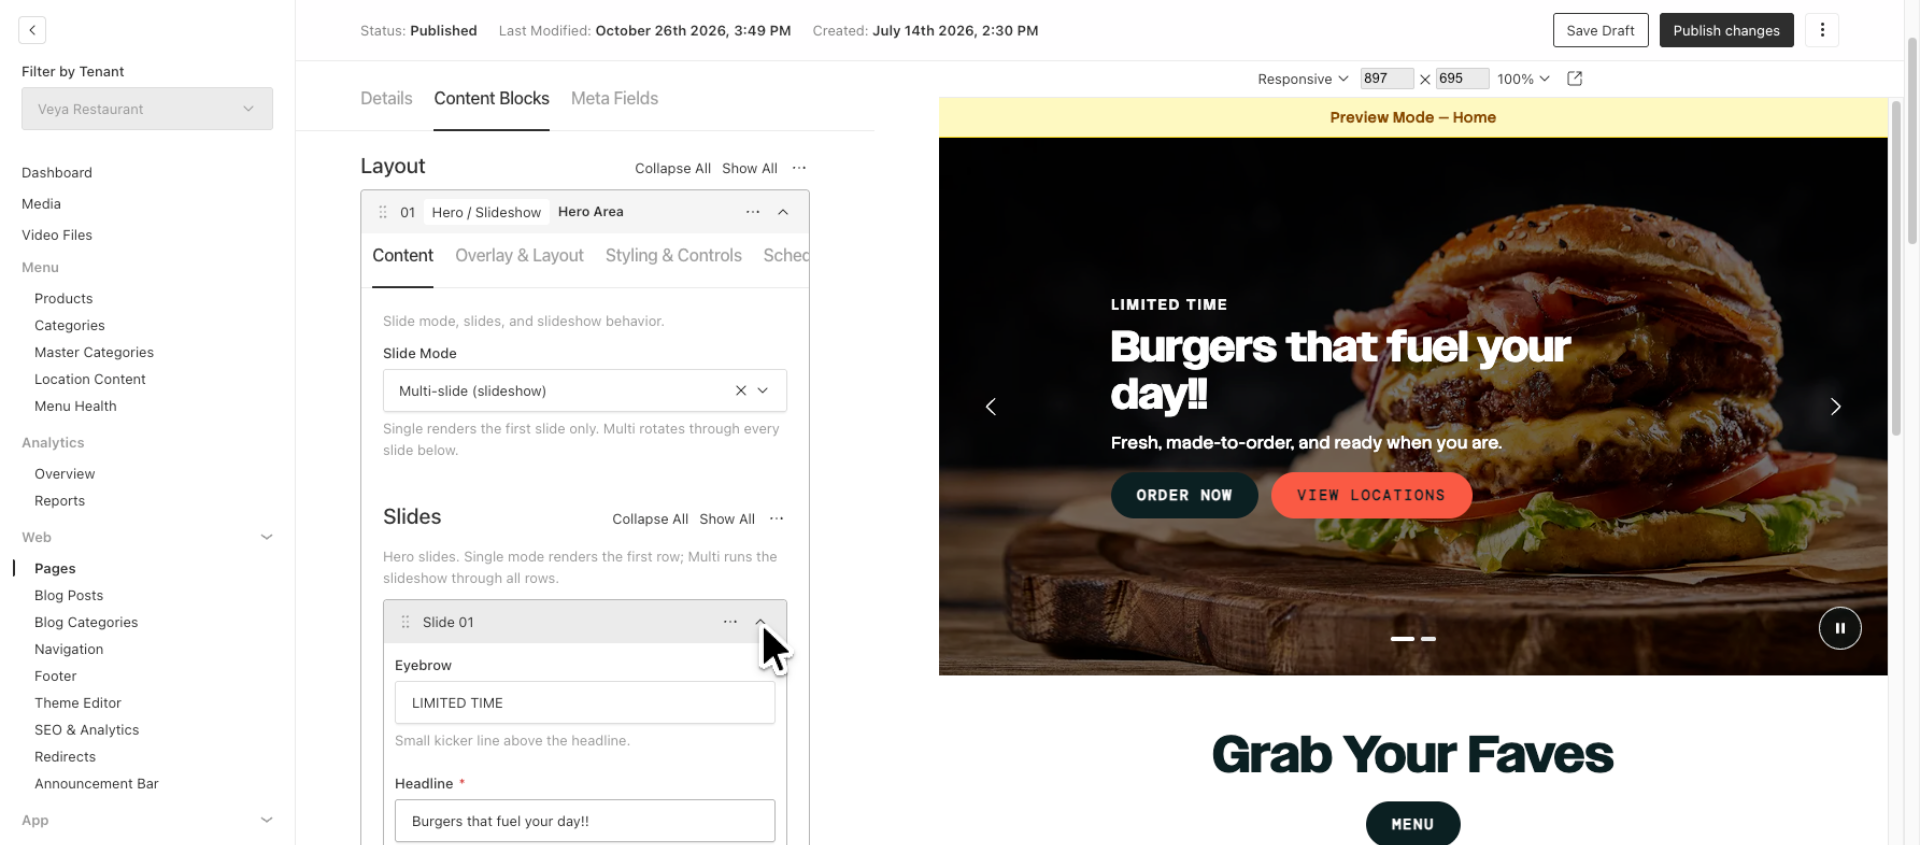
Once you have completed your content review, you can collapse the content block to simplify your view and focus on other elements of the page while editing. Let’s collapse Slide 1 by clicking the up arrow.
7. Collapse a Layout Section
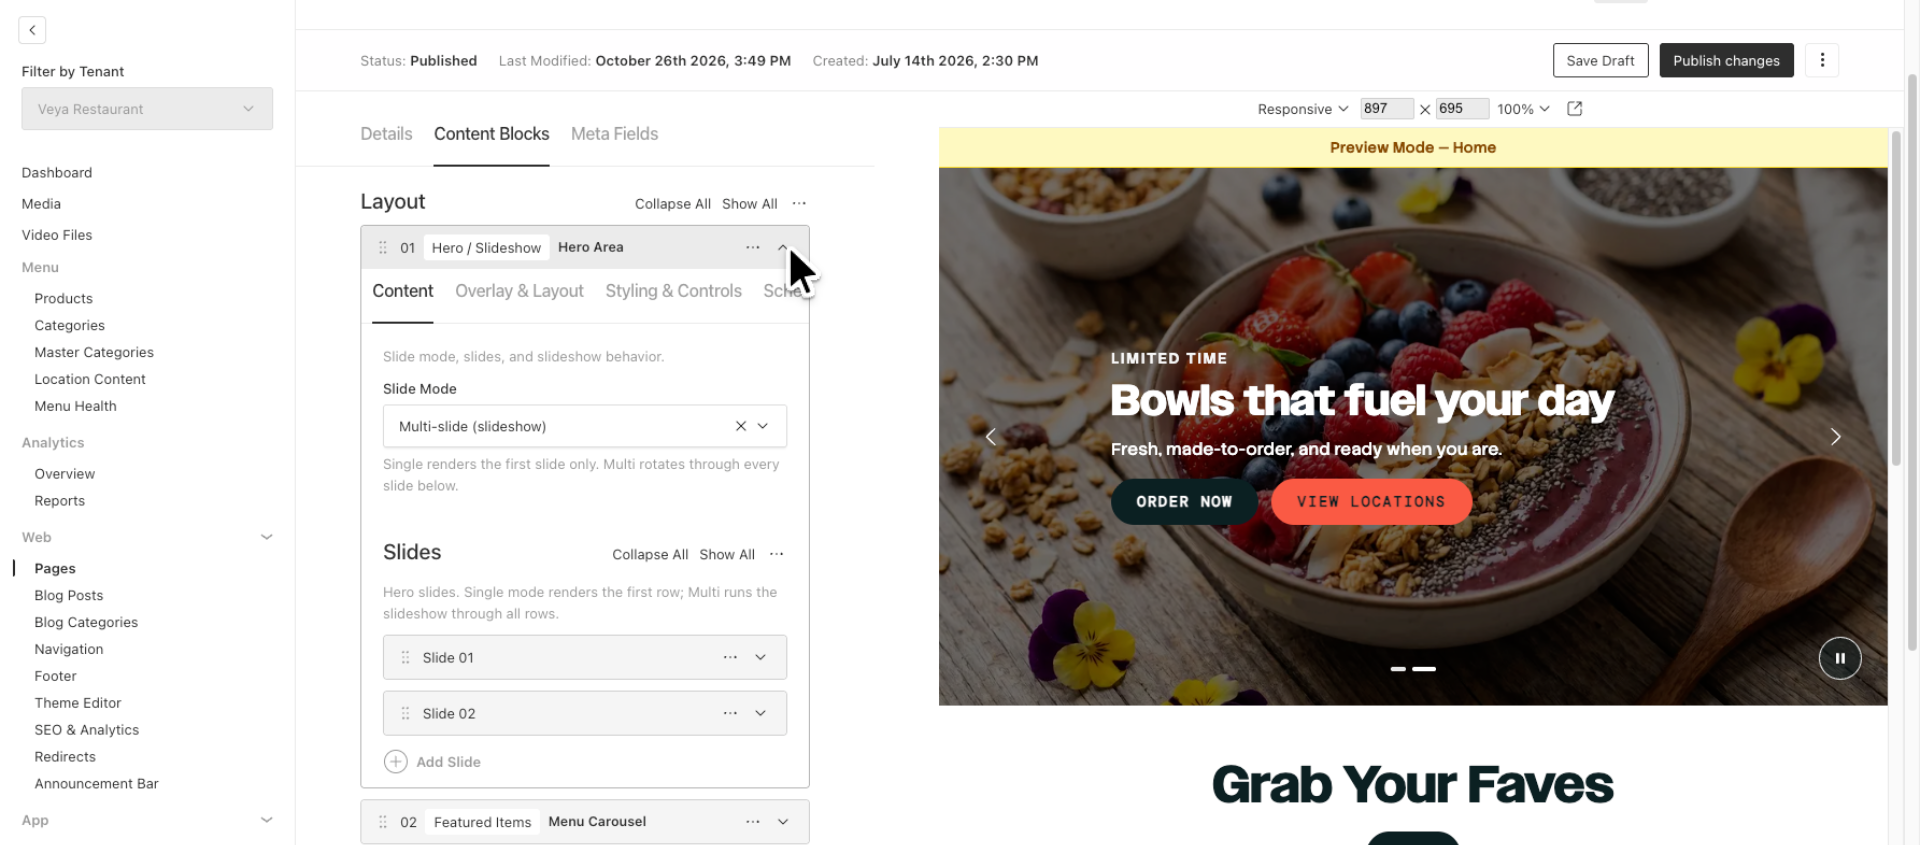
Once you have finished editing a layout, you can collapse the expanded content view by again clicking the up arrow.
8. Show All Layouts
To view the content sections of all layouts on the page, click "Show All" to expand all the layout sections.
9. Collapse All Layouts
Simply click on "Collapse All" if you wish to close the expanded layout sections.
10. Layouts, Re-Order and Preview
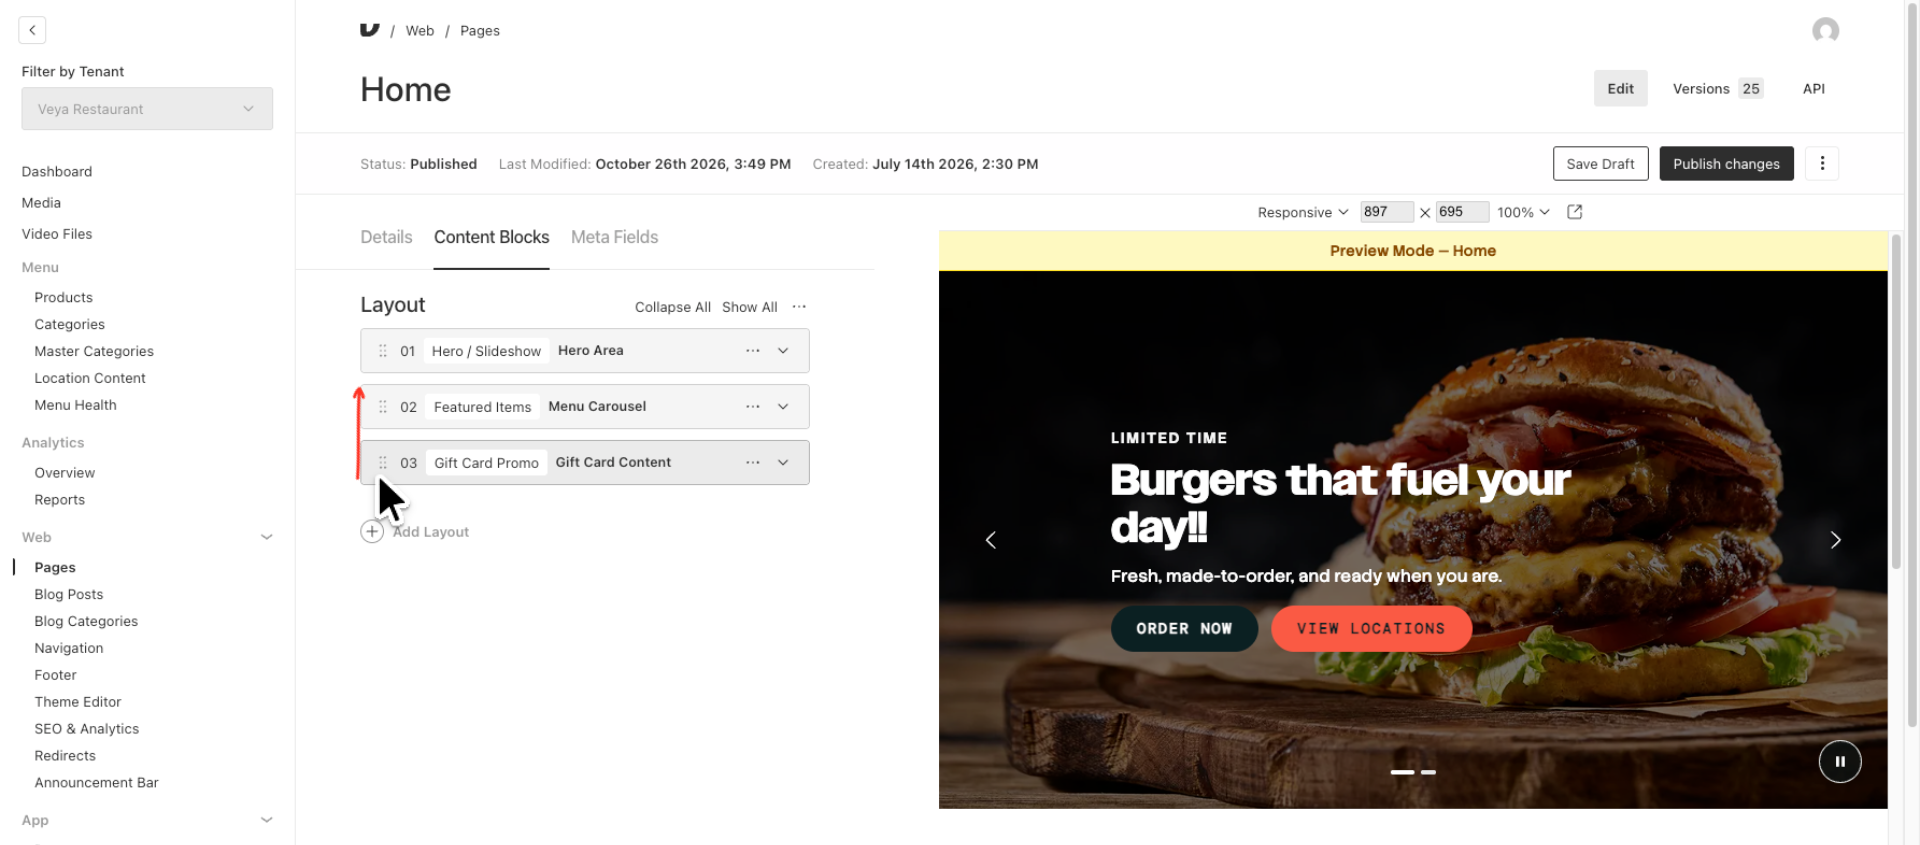
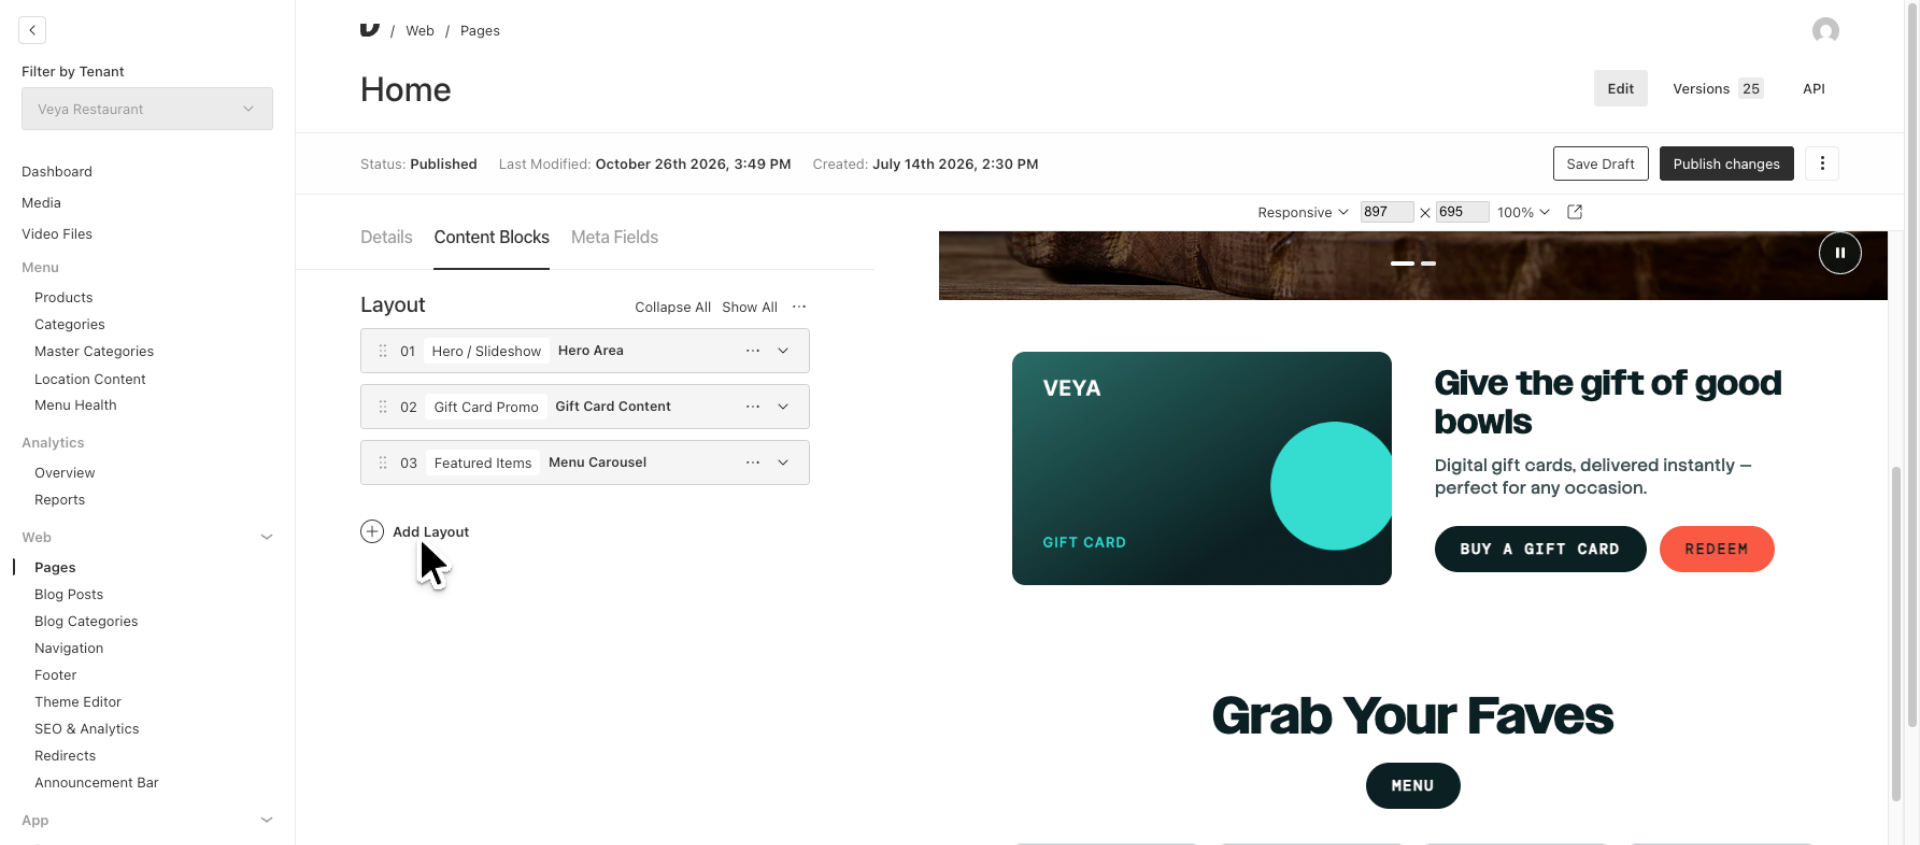
All your layout sections will consistently appear on the left-hand side, accompanied by a preview of each layout's content on the right. To reorder any of your layout sections, simply drag a section to your desired position. For instance, you can take this gift card layout at the bottom and move it below the Hero.
11. Add a New Layout to the Page
You can see that our Gift Card Layout section is now positioned as #2 on our homepage, directly below the Hero. To add a new layout to the page, simply click on the "Add Layout" link.
12. Layout Library
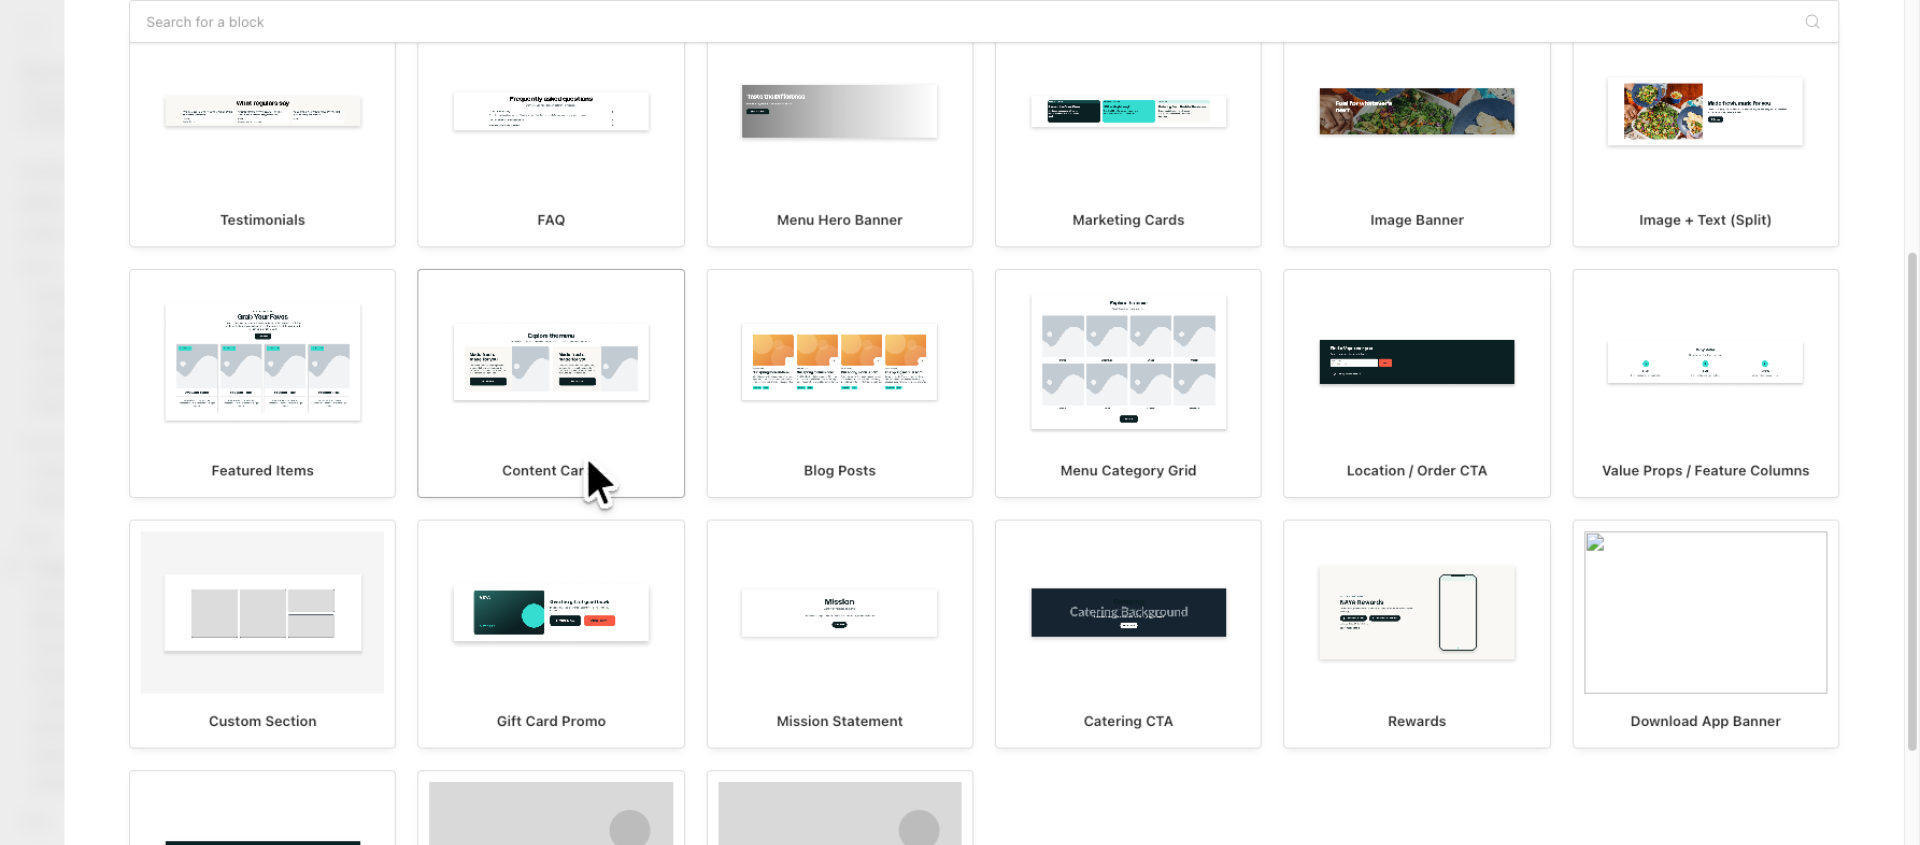
This will showcase the library of available pre-built layouts alongside custom layouts that can be used to create a layout section from the ground up.
13. Saving and Publishing
After finishing your edits on a page, you can click "Save Draft" in the top right corner if you're not ready to publish yet. If you have Publish admin rights, you can click "Publish Changes" to make your updates live on your website.
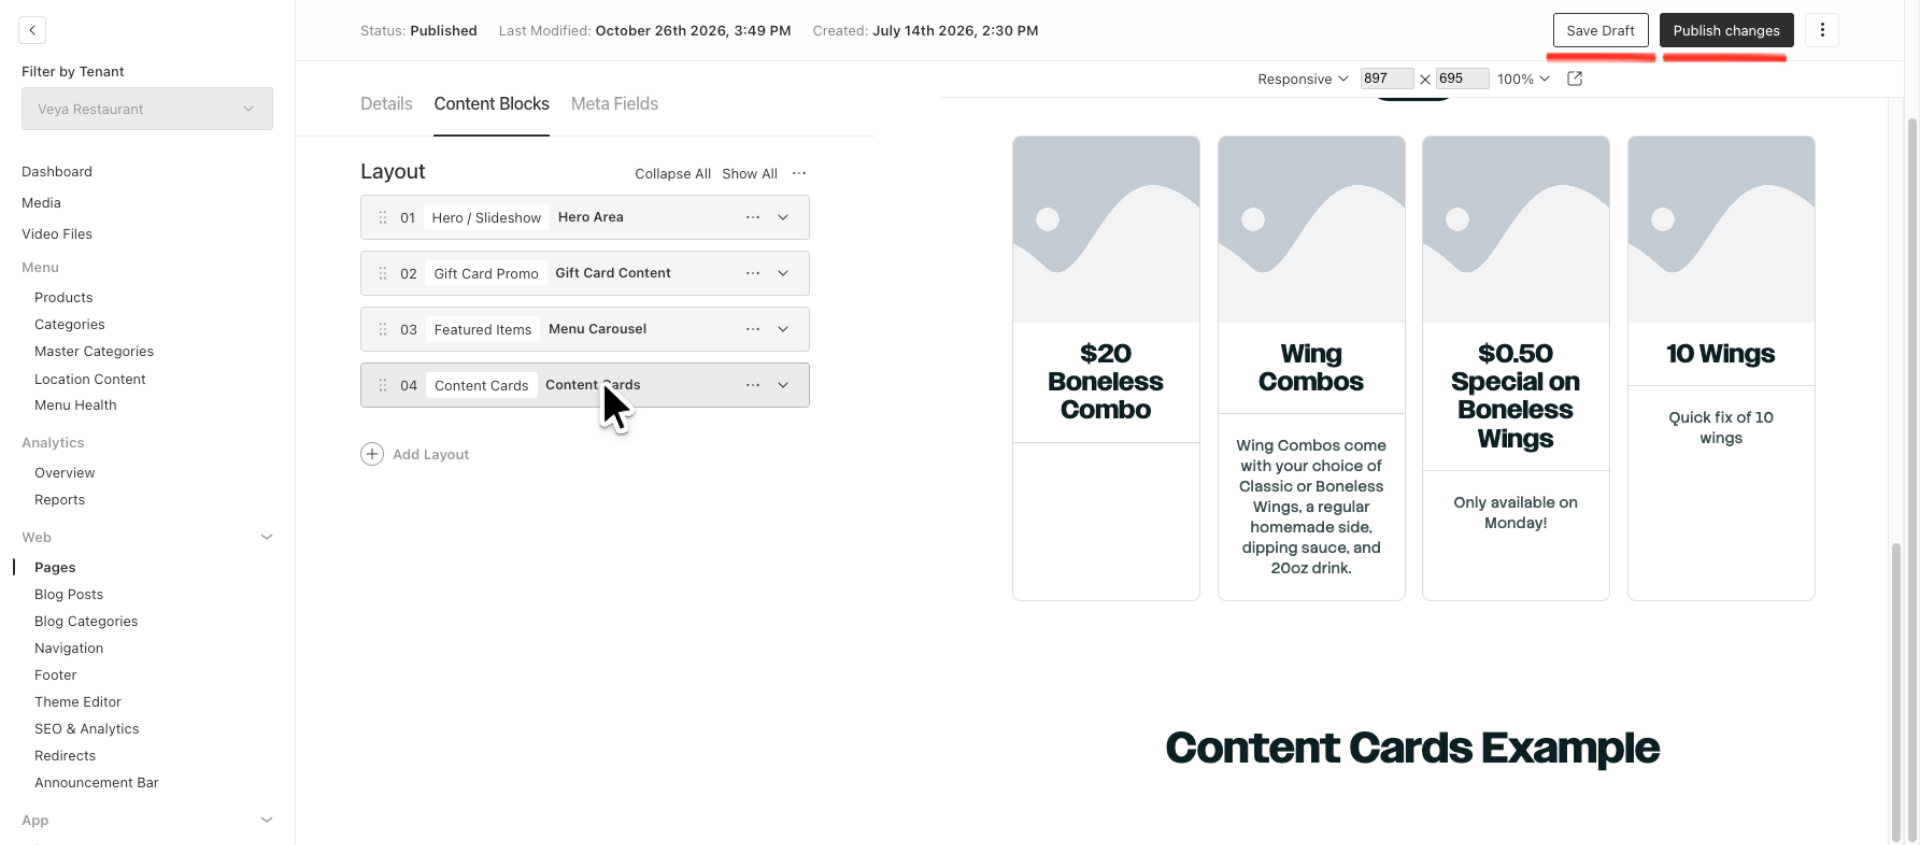
This walkthrough illustrates how to navigate the pages section, view layouts, add new layouts, and examine the specific content blocks within a layout section on a page. For detailed instructions on editing a layout on your website, please refer to our Homepage and Pages section in the knowledge base.